• Home
  • Recipes
  • Adventures
  • About
  • Connect
Menu

AlliVuong

  • Home
  • Recipes
  • Adventures
  • About
  • Connect
Kem Chuối Ép

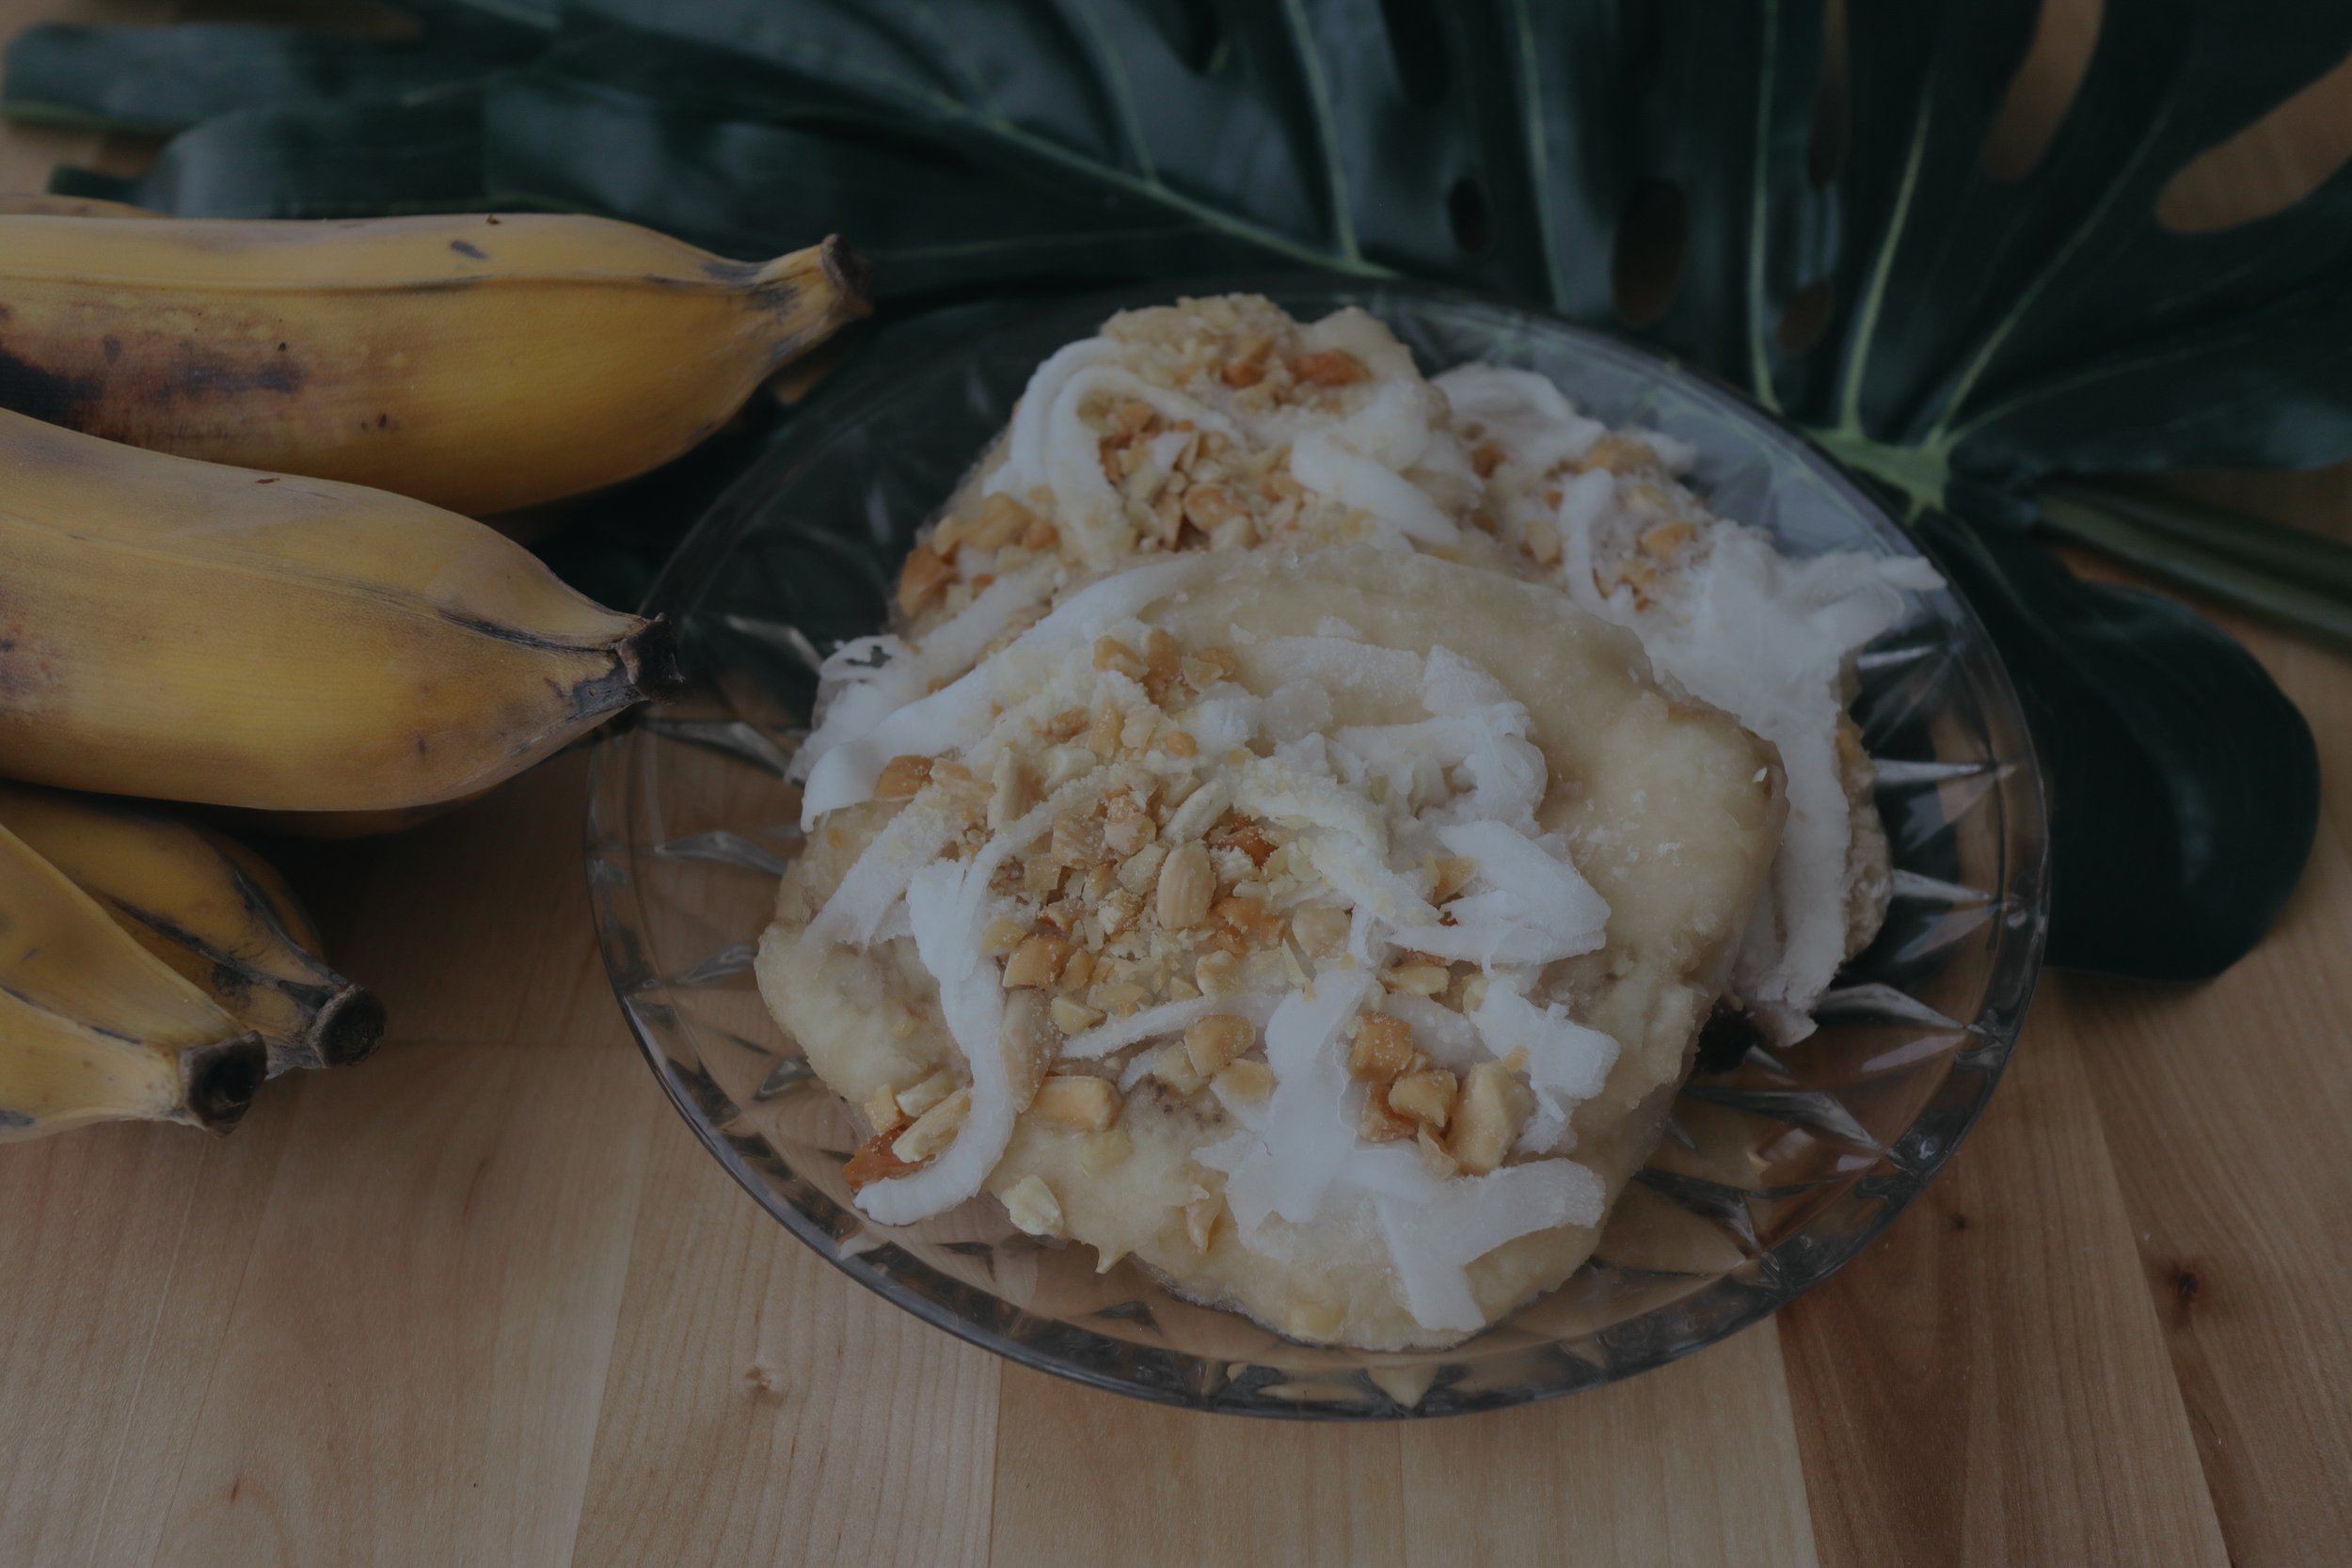
Kem Chuối Ép | Frozen Pressed Banana

September 16, 2023
Vietnamese Ingredients

Kem Chuối Ép | Frozen Pressed Banana 

makes about 10 servings

Ingredients

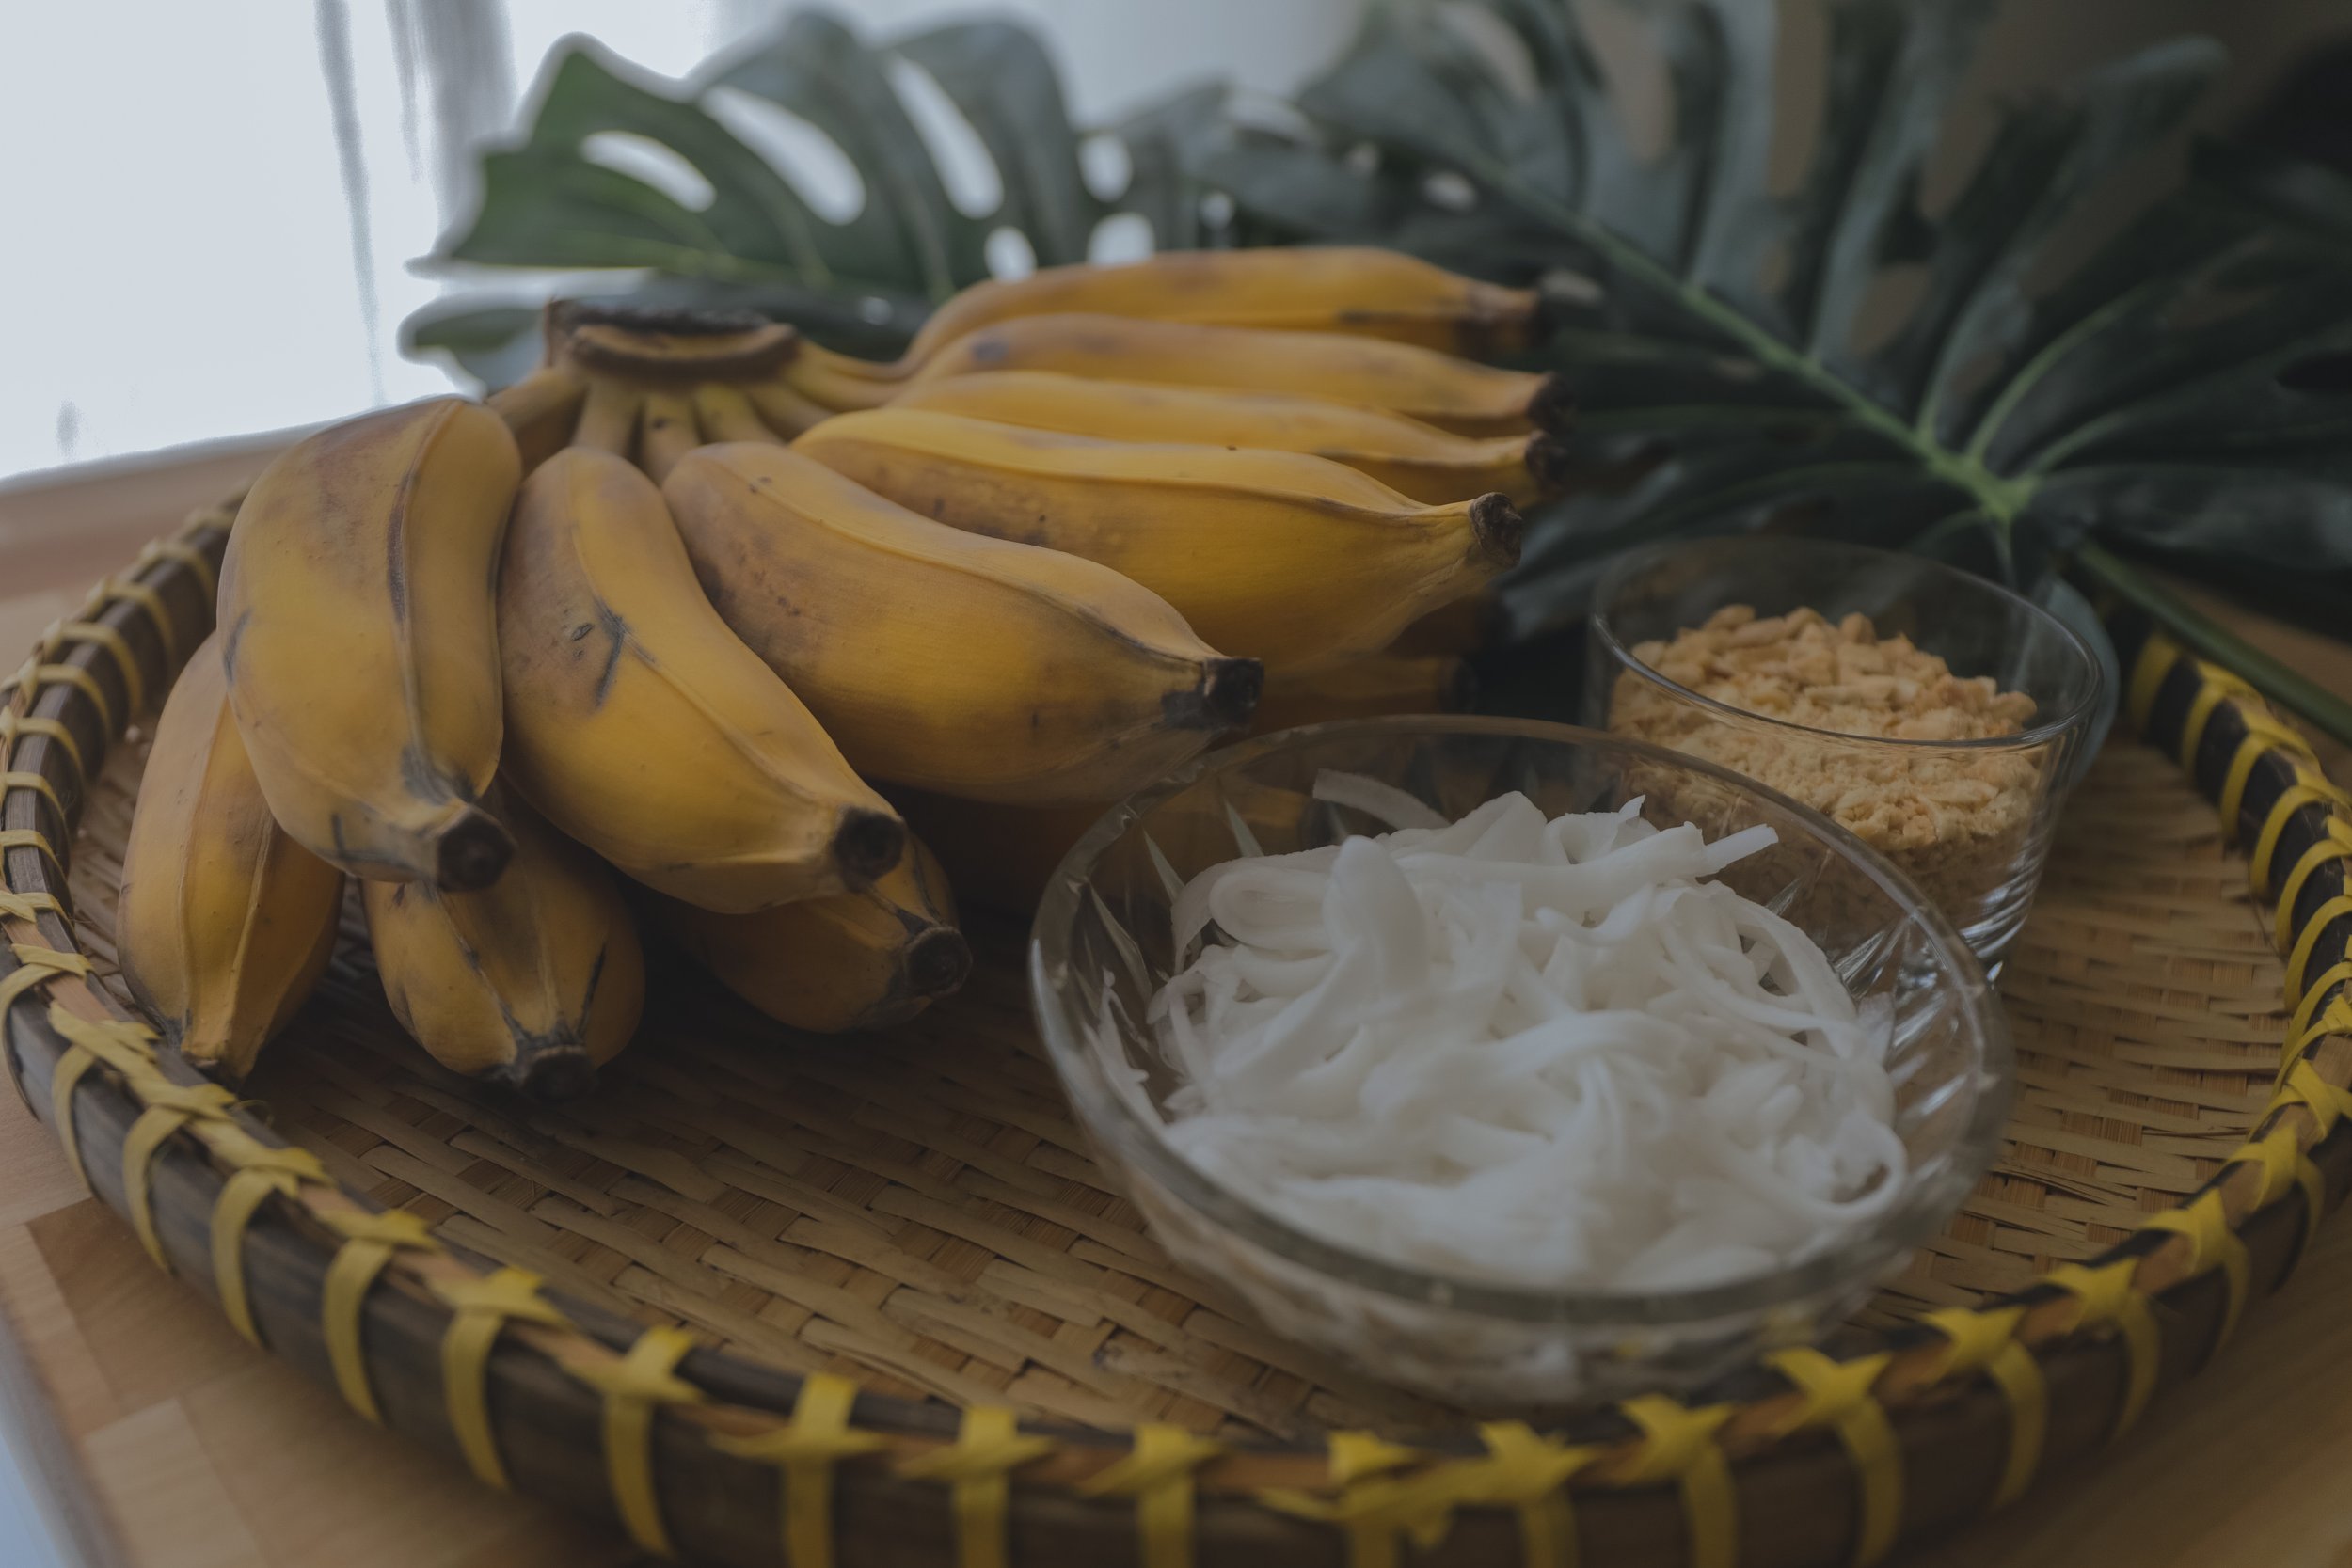
1 bunch of Namwa Bananas

2 cups fresh shredded coconut

1 cup crushed peanuts

Clear pastry bags or ziplock bags


Preparation

  1. Peel bananas 

  2. Place each banana in one pastry bag

  3. Press and roll the banana out until desired thickness. I like mine about ½ inch or 1-2 cm tall. 

  4. Add a layer of shredded coconut to the banana 

  5. Sprinkle 1 tablespoon of crushed peanuts on top 

  6. Fold the opening of the bag over to seal 

  7. Freeze until frozen, about 4 hours or overnight 


Good to know

You can add a few drizzles of coconut cream on top of the shredded coconut, before the crushed peanuts, for added creaminess.
In Asian, Desserts, Healthy, Vietnamese Tags Ice Cream, Desserts, Kem Chuoi
Comment
7EC2B14F-7A1C-424F-89D2-989A6B047433.JPG

Soy Milk | Sữa Đậu Nành

July 4, 2020
EFD42E04-A312-48F3-9666-993ABB06CEDE.JPG
7828B851-3A9C-46F8-A8C0-A540304A07D6.JPG
86AD6B8F-3620-4115-BBB4-5A0F416797D0.JPG

Soymilk | Sữa Đậu Nành 

makes 5 cups

Ingredients

180 gr (1 cup) dried soybeans 

15 gr (2 tbsp) white sesame seeds

25 gr (4) pandan leaves

1.5 liters (6 cups) water 

A pinch of salt 


Preparation

  1. Gently rinse the soybeans under cold water for 30 seconds. 

  2. Soak soybeans for at least 8 hours, preferably overnight. The beans will expand 3-4 times so make sure you use plenty of water. 

  3. The following day, drain and rinse the soybeans one more time. 

  4. In a high speed blender, add soybeans, sesame seeds and water. 

  5. Blend at high speed for 1 minute. Rest for 30 seconds. Blend on high speed again for 1 minute. 

  6. Place cheesecloth in a strainer and both over a large bowl.

  7. Strain the soybean mixture through the cheesecloth. Twist and wring the cheesecloth to extract as much liquid as possible. 

  8. Pour the soy milk in a medium pot and bring to a boil. 

  9. Let the mixture boil for 3 minutes. 

  10. Reduce to medium-low heat, add pandan leaves and let simmer for 15 minutes. 

  11. Make sure to stir the pot frequently to prevent the milk from burning. Skim any bubbles and milk skin forming on top. 

  12. Remove from heat and strain the milk once more with a strainer. This will filter out any leftover residue and ensure the milk is extra smooth. 

  13. Transfer soy milk to glass containers and store in the refrigeration. 

  14. Enjoy!


Good to know

6 cups of water yields a similar consistency to the soy milk I drank growing up but feel free to increase/reduce the amount water to fit your preference.

You can drink the soy milk plain or add honey as sweetener. Similarly, this can be enjoyed hot or cold.

The sesame seeds are there to enhance the nutty and creaminess of the soy milk. Alternatively, you can replace them with a handful of peanuts. 

I recommend straining the milk twice to remove any leftover milk skin and minimize the amount of pulp left. Gritty soy milk (or any milk really) is a no-no!

There are other methods which required you to boil the blended soy mixture and then strain it. That works just as well but I personally prefer this way as I don’t have to wait for the cooked milk to cool and avoid the need to handle hot milk during the straining process altogether. 

CC2A2028-DB8A-4126-9D4E-586FE1555F01.JPG
In Healthy, Vietnamese, Drinks Tags Soymilk, Vegan, Healthy, Drinks, Sua Dau Nanh, Vietnamese
Comment
_DSC7748.jpg

Congee with Lap Cheong, Soft Boiled Egg and Mushroom

January 30, 2020
_DSC7747.jpg

A week ago, my husband came down with the flu and I knew the epidemic that is the Man-Flu was about to befall us. So aside from the usual Vitamin C, elderberries, water and lots of sleep, I wanted to make him something nutritious, easy on his sore throat and comforting to eat. If there’s one thing this husband of mine craves most while being sick, it’s the feeling of comfort and being taken care of. I mean, don’t we all? Though I tease him a lot for it, I find it quite endearing. 

Below is the recipe I came up with after rummaging through our pantry and gathering everything I deemed has healing components. He finished the whole pot in 2 sittings when I intended for it to last a few days.  And yes, the Man-Flu is no more. 

_DSC7740.jpg
_DSC7750.jpg

Congee with lap cheong, soft boiled egg and mushroom 

makes about 6 cups

Ingredients

1 cup rice 

5 cups chicken broth

6 cups water 

¼ cup ginger, peeled and sliced lengthwise 

½ cup dried lotus seeds

1 tbsp mushroom powder 

1 link lap cheong (Chinese sausage), sliced diagonally  

1 tbsp sesame oil

¼ cup dried wood ear mushroom 

1 tbsp sesame seeds 

1 tsp soy sauce

½ tsp salt 

4 jujubes (dried dates) 

4 eggs 

1 stalk of green onion, thinly sliced


Preparation

For the congee

  • Rinse the rice until the water runs clear. Drain and soak in fresh water for 30 minutes. 

  • Soak lotus seeds in boiling water for at least 2 hours. Drain and set aside. 

  • In a pot over medium high heat, add the rice, chicken broth, water, ginger, lotus seeds and mushroom powder. Bring to a boil. 

  • Reduce the heat to medium and continue to boil for 15-20 minutes. Stir frequently. 

  • Reduce the heat to low, cover and let simmer for 60 minutes. Stir frequently. 

  • If the congee becomes too thick or the water is evaporating too quickly while the rice has not fully cooked, add water (1 cup at a time) to the pot. Remember to stir the pot every 5 minutes or so to avoid the rice from sticking to the bottom of the pan.  

  • At the 60 minutes mark, add the jujubes and continue to cook covered for another 15 minutes. 

For the garnish

  • Soak wood ear mushroom in boiling water for 10 minutes. Drain, slice lengthwise and set aside. 

  • While the rice is cooking, add the Chinese sausage and 2 tbsp of water to a pan over medium heat. Cook until the sausage is becoming semi-translucent in color and the water has evaporated. Remove from heat and set aside. 

  • In a separate pan over medium heat, combine sesame oil with wood ear mushroom and cook for 2-4 minutes. Season with sesame seeds, salt, soy sauce and cook for another minute. Remove from heat and set aside. 

  • To soft boil the eggs, add enough water in a pot to submerge them all. Bring the water to a boil then add the eggs. Cook for 6-7 minutes. Remove from heat, soak in cold water for 15 minutes. Peel and set aside. 


To serve

  • Pour congee in a bowl, garnish with mushroom, Chinese sausage, half an egg and green onion. 


Good to know

The congee base is simple: rice and water. The rest of the flavoring is up to you, add whatever you want and go from there. The only thing to be mindful of is that you need to stir it frequently as it has a tendency to stick to the bottom of the pan if left alone for an extended period of time. 

The thickness of the congee also depends on your preference. Some like their congee thicker, others like it thinner. Adjust your cooking time and water accordingly. Stop cooking once the rice is fully cooked and the congee is at your preferred consistency. 

Dried lotus seeds are tricky as some are older than others – which impacts the time required to soften them while cooking. If you are unsure, you can soak them overnight before cooking.

_DSC7756.jpg
In Dinner, Healthy, Vietnamese, Soup Tags Congee, Chao, Soup, Healthy, Vietnamese
Comment
IMG_5712.JPG

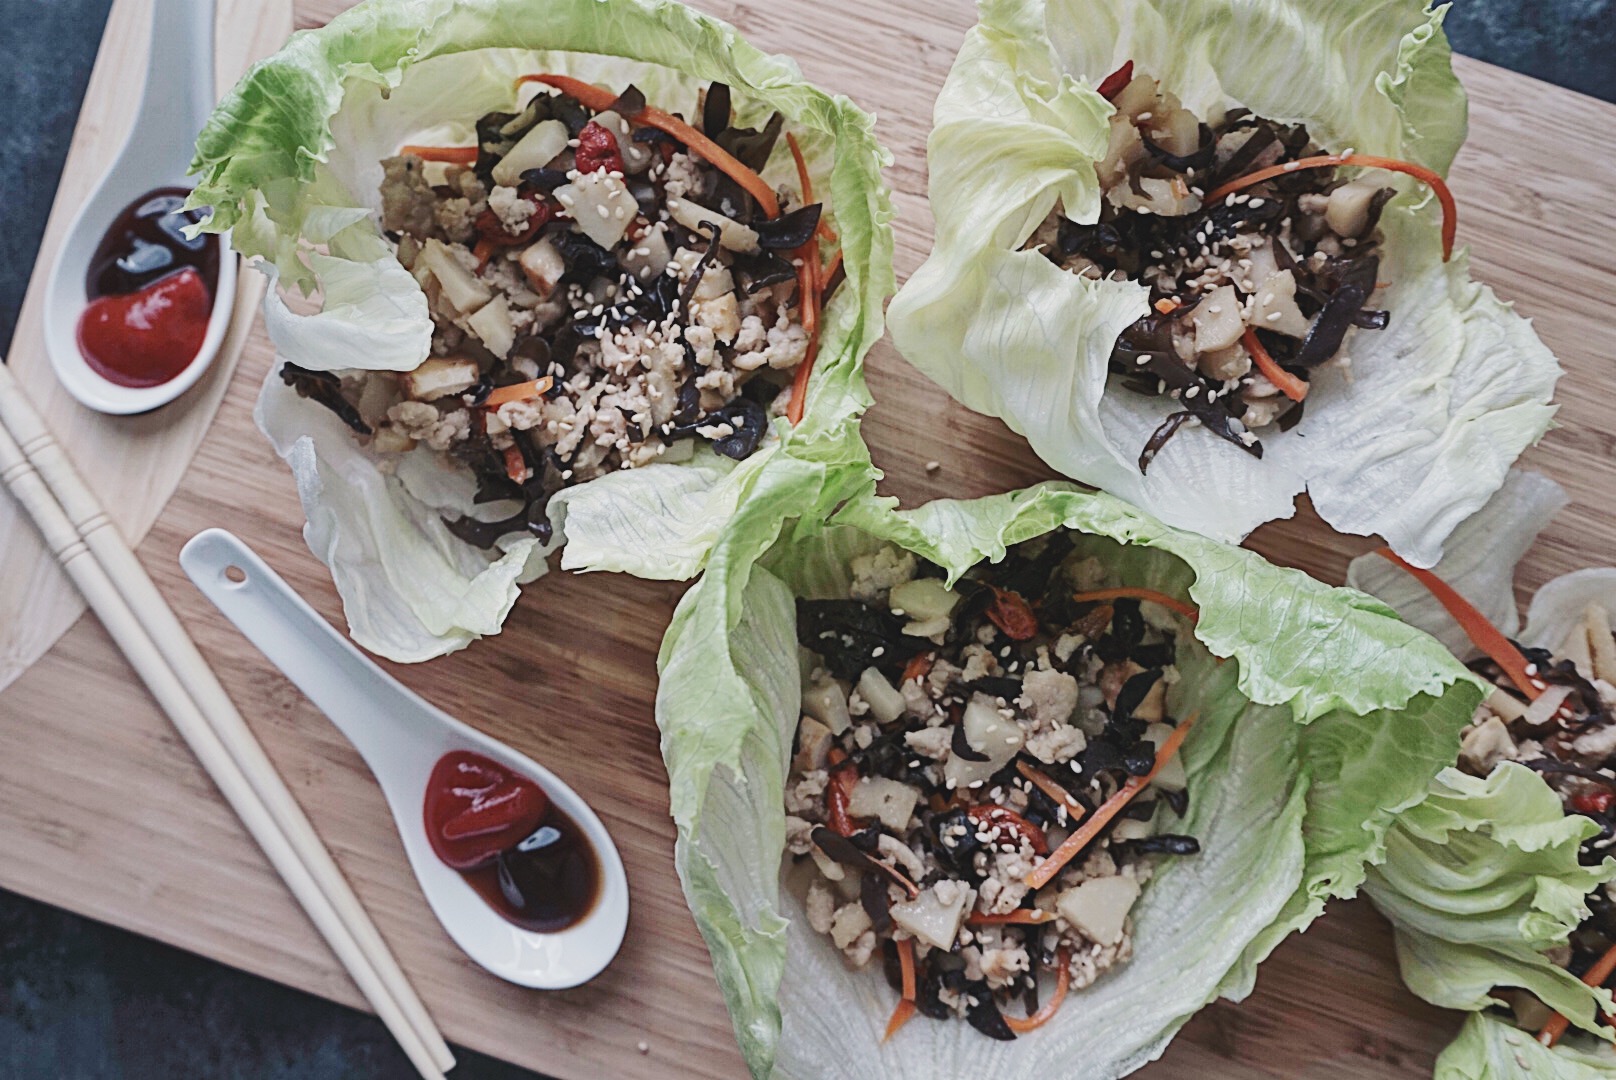
Chicken Lettuce Wraps

August 26, 2019
IMG_5711.JPG

Chicken Lettuce Wraps 

makes enough for 2 people

Ingredients

1 lb chicken

4 cloves of garlic (minced)

1 tbsp ginger (julienned)

1/4 cup dried wood ear mushroom

1 can watercress (diced)

1 cup carrot (shredded)

1/4 cup goji berries

1 tbsp soy sauce

3 tbsp hoisin sauce

2 tbsp sugar

2 tbsp cooking oil

1 tsp sesame oil

1 tbsp sesame seeds

iceberg lettuce (leaves separated)

Preparation

  1. Soak mushrooms in a bowl of warm water for 10 minutes or until fully bloomed.

  2. Drain water and slice mushrooms in long thin strips. Set aside.

  3. Add cooking oil to a pan over medium heat. Wait 2-3 minutes for the oil to be ready.

  4. Add garlic and cook for 2 minutes or until fragrant.

  5. Add ginger and cook for another 2 minutes.

  6. Add ground chicken and cook for 3-5 minutes or until opaque in color.

  7. Add soy sauce, hoisin sauce, sugar and sesame oil to chicken and cook for another 2-3 minutes.

  8. Add mushroom, watercress, carrot and goji berries. Cook until watercress is tender but still crunchy.

  9. Feel free to adjust seasoning to your liking at this point.

  10. Place chicken inside lettuce, sprinkle on some sesame seeds and enjoy!


Good to know

Nothing! It’s that easy.

In Dinner, Entree, Healthy, Salad, Chinese Tags chicken, healthy, wrap
1 Comment
DSCF5867.jpg

Paleo Banana Bread

December 2, 2018
_DSC5653.jpg

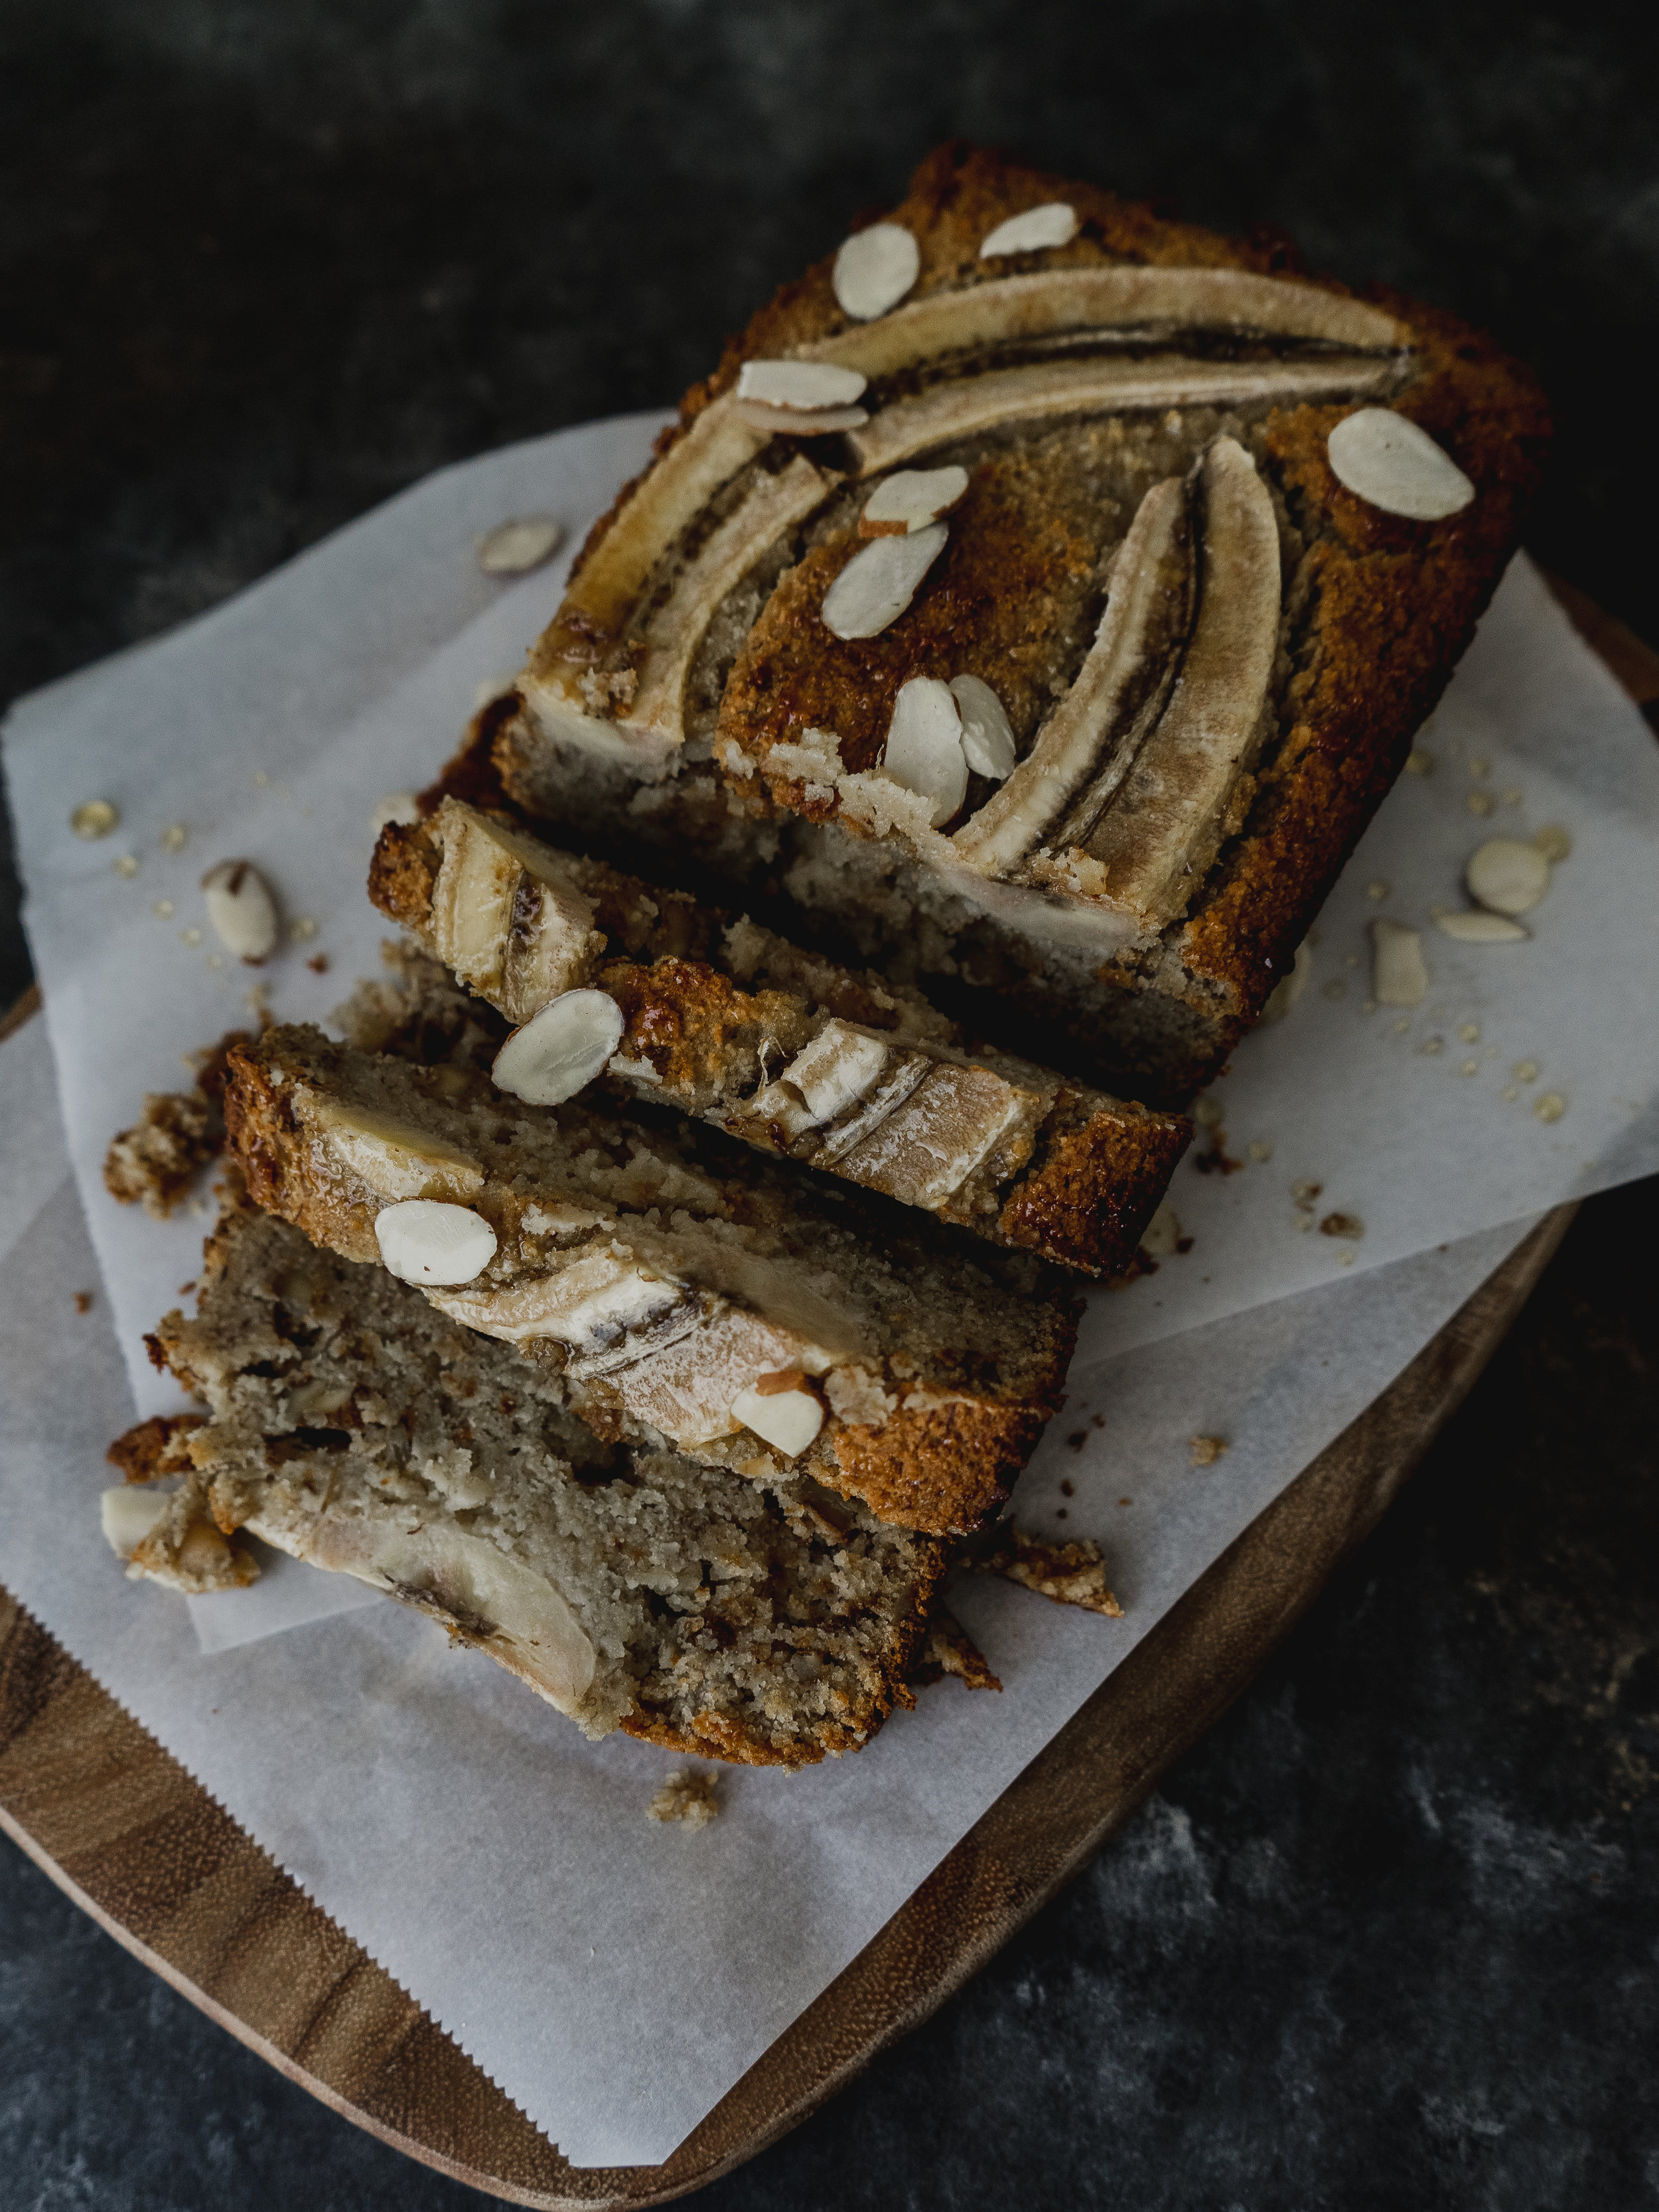
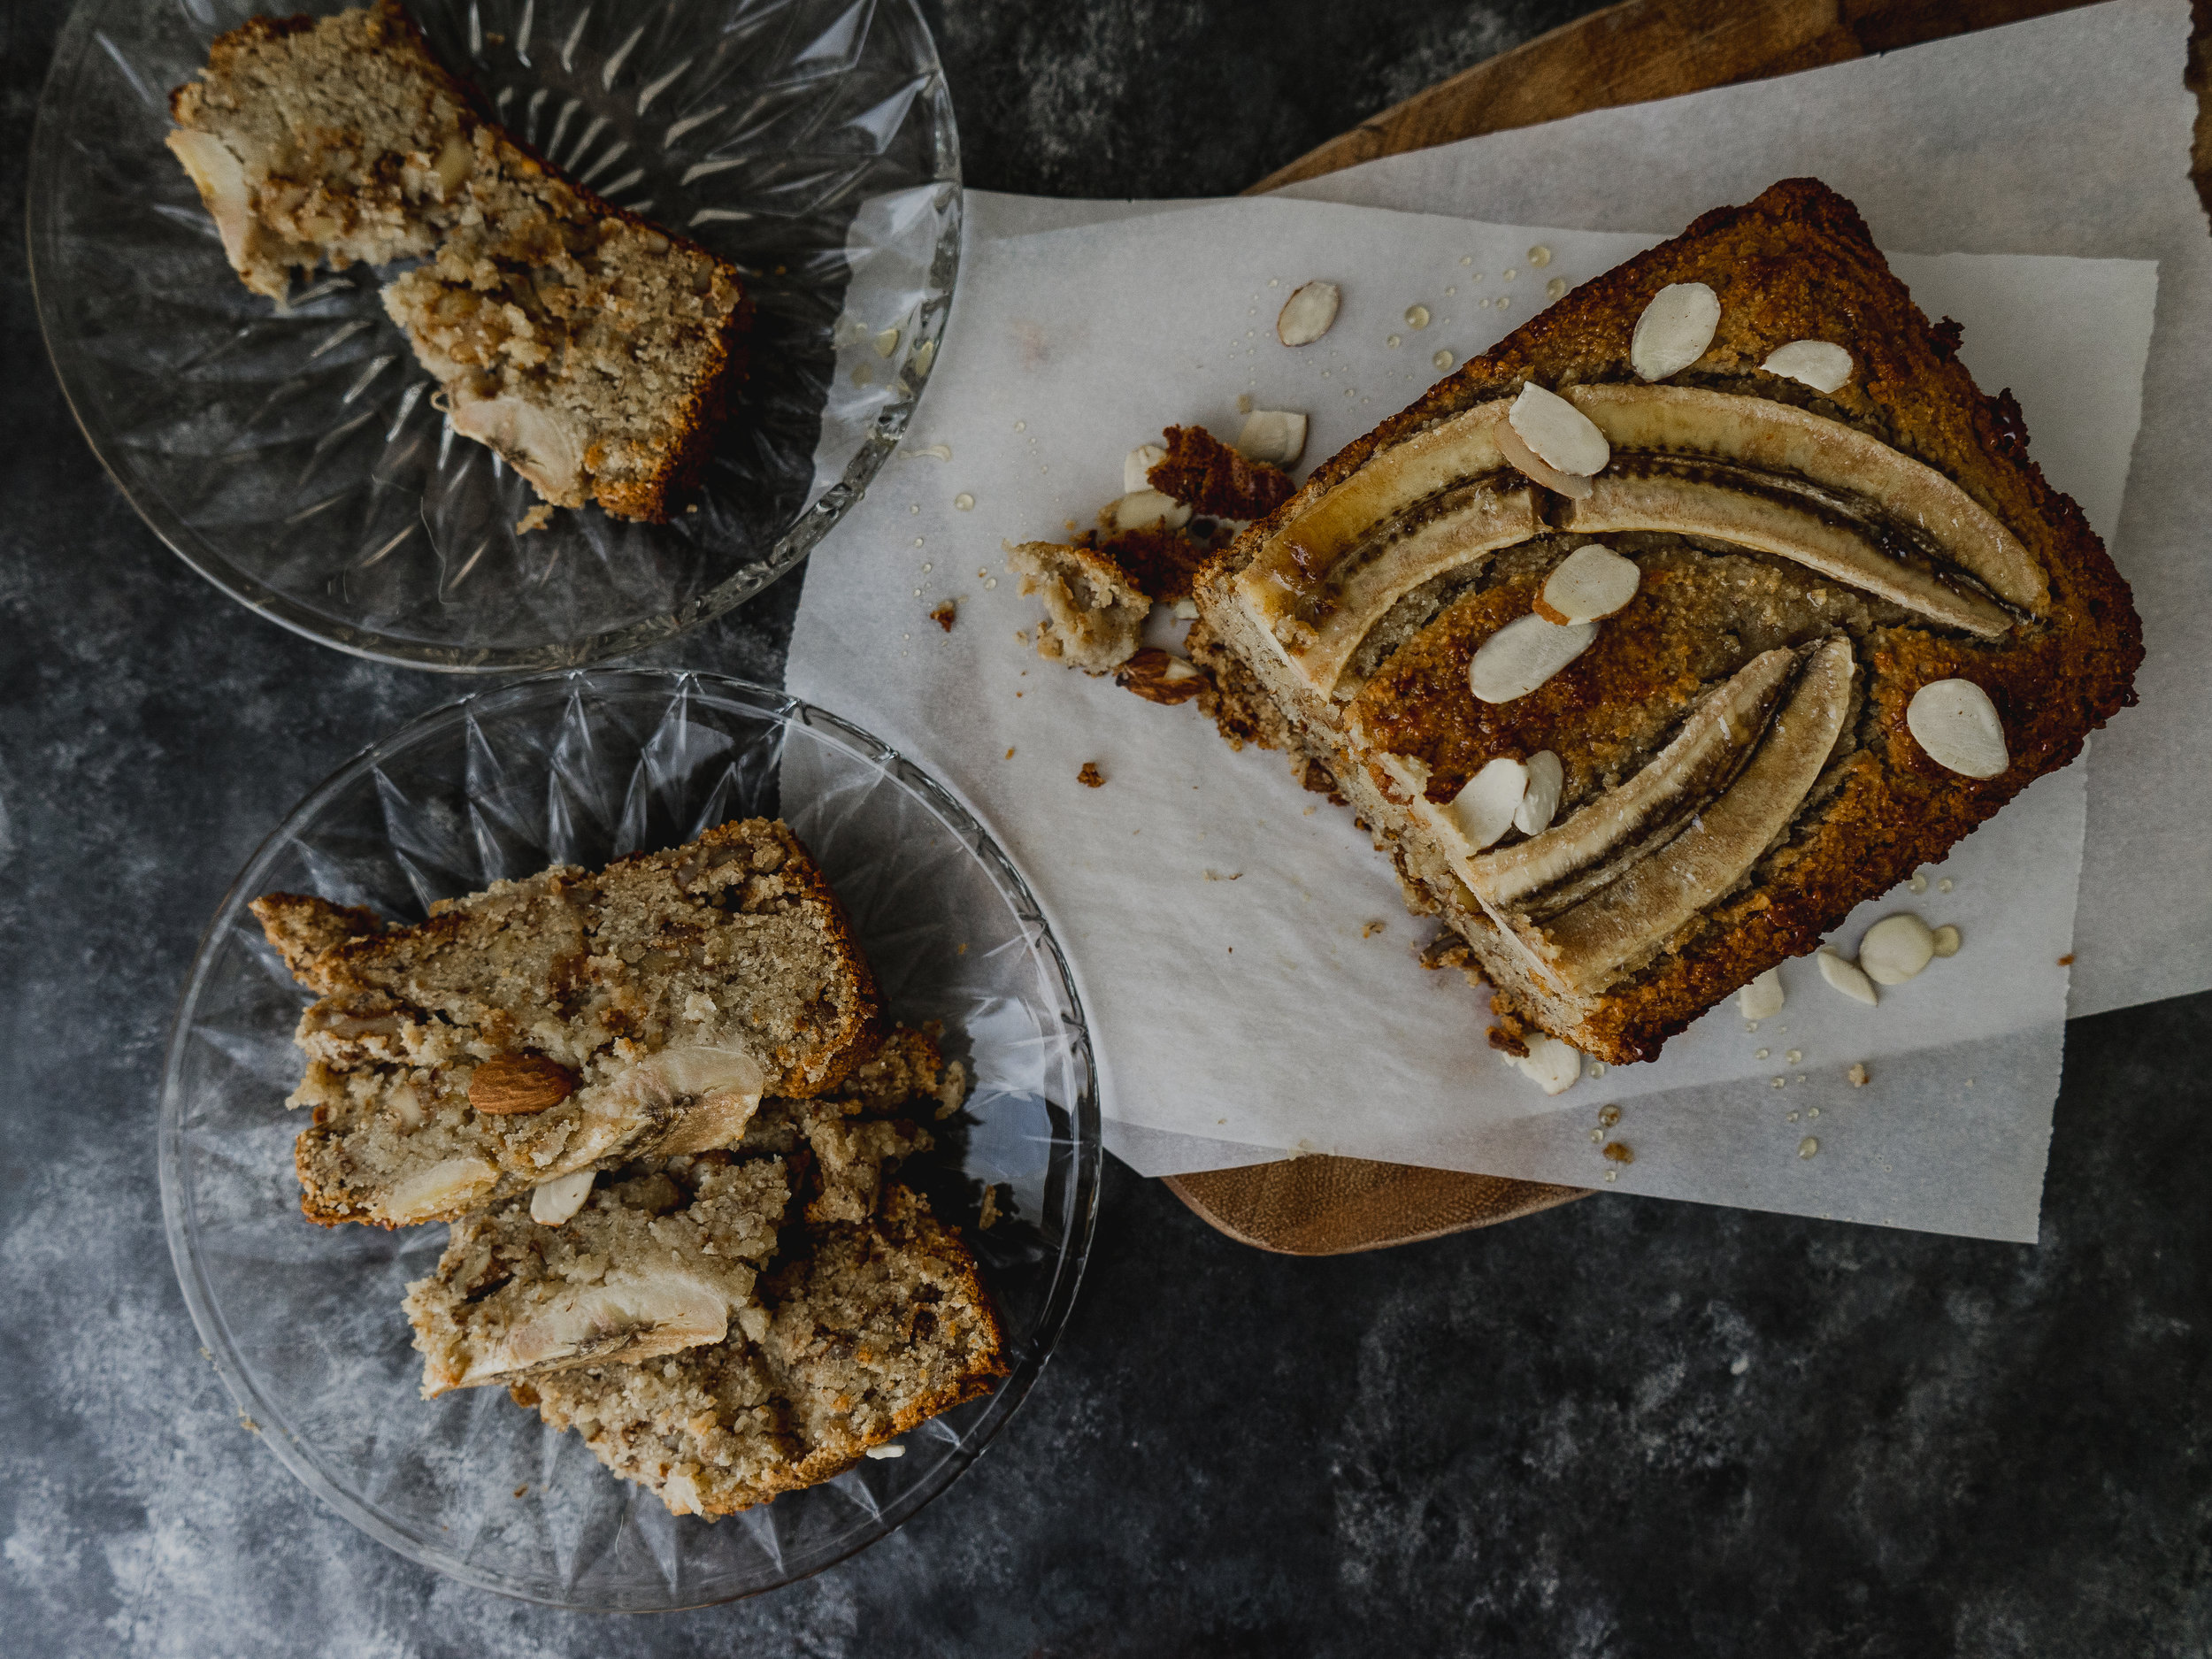
Paleo banana bread 

makes 1 loaf of bread

Ingredients

3/4 cup almond flour 

3/4 cup coconut flour 

3/4 tsp baking soda

1/2 tsp baking powder

1 1/2 tsp kosher salt 

1/2 cup coconut oil, melted

3/4 cup honey or agave nectar 

2 eggs

1 1/2 tsp vanilla extract 

1/3 cup coconut cream 

4 ripe bananas 

1 cup of walnut, chopped 


Preparation

  1. Preheat the oven to 350 degree. 

  2. In a bowl, mix together the almond flour, coconut flour, baking soda, baking powder and salt. 

  3. Sift the above dry ingredients and set aside. 

  4. In a blender, add together the melted coconut oil, honey or agave nectar, egg and vanilla extract.

  5. Blend on medium high speed for a couple of minutes or until smooth. 

  6. Mash 3 bananas together with the coconut cream. Set aside. 

  7. In a mixer, add the dry and wet ingredients together. Mix on medium speed for 3 minutes. 

  8. Add the banana coconut cream and mix until everything is well incorporated. 

  9. Fold in the the chopped walnut. 

  10. Line the baking pan with parchment paper. 

  11. Add the batter to the pan. Smooth out the top. 

  12. Cut the last banana in half, length wise. Lay the banana halves on top of the batter. Gently press down so the banana is slightly submerged in the batter. 

  13. Bake for 50-60 minutes. 

  14. Brush the top with 1 tbsp of honey or agave nectar immediately after the bread is done baking. 

  15. Top with slivered almonds.


Good to know

To test the readiness of the bread while baking, insert a toothpick in the center of the pan, if it comes out clean then your bread is ready. I recommend start doing this at the 40-45 minute mark and continue testing every 5 minutes or so. 

If the top of the bread starts browning too early, cover the baking pan with a piece of aluminum foil. 

This bread is delicious hot or cold but I especially like mine slightly warm with a drizzle of coconut cream. Give it a try, I promise you’ll like it. 

Toodles!

_DSC5657.jpg
In Healthy, Desserts, Bread Tags Paleo, Banana, Bread
Comment
_DSC5611.jpg

Vegan Matcha Sesame Cheesecake

October 14, 2018
_DSC5589.jpg
_DSC5624.jpg
_DSC5625.jpg
_DSC5626.jpg
_DSC5618.jpg

Vegan Matcha Sesame Cheesecake 

makes 12-14 (2”x 2") mini cheesecakes  

Ingredients

Silicone mold

Crust: 

1 cup roasted almond 

5 Medjool dates, pitted 

2 tbsp coconut oil

1/2 cup shredded coconut 

2 tbsp cacao nips 

1/8 tsp salt 

Filling:

2 cups raw cashew 

1 cup coconut cream 

8 tbsp coconut oil 

8 tbsp agave nectar 

2 tbsp lemon juice 

1/2 tsp vanilla extract 

1 pinch salt 

2 tsp matcha powder 

2 tsp black sesame seeds 

White chocolate topping:

1/2 cup raw cashew 

1/4 cup coconut cream

2 tbsp coconut oil 

2 tbsp agave nectar

1/4 tsp vanilla extract  

Preparation

  1. Soak the cashews for at least 6 hours, preferably overnight.

  2. For the crust: in a food processor, blend all ingredients together until a crumbly but sticky paste is formed. 

  3. Press the crust evenly onto the bottom of the mold. 

  4. For the filling: drain the cashews and blend until smooth. 

  5. Add the rest of the filing ingredients, except the matcha powder and sesame seeds. Blend until creamy. 

  6. Split the filling in half.

  7. Add the matcha powder to one half, blend until smooth. 

  8. Pour the matcha filing into the mold, freeze until set. About 30 minutes. 

  9. Add the sesame seeds to the other half, blend until smooth. 

  10. Pour the black sesame filling on top of the set matcha filing. Freeze until set, about 30 minutes. 

  11. Meanwhile, blend all of the ingredients for the white chocolate topping together. 

  12. Add a thin layer on top of the set matcha and black sesame layers. 

  13. Freeze overnight. 

  14. Thaw for 5-10 minutes before serving.

  15. Dust with extra matcha powder and enjoy! 


Good to know

I like using this silicone mold as it divides the cheesecake into serving size portions. Plus, the silicone makes it very easy to pop them out of the mold right before serving. 

Alternatively, you can use any baking pan and cut the cheesecake into smaller pieces after it’s done setting.

Lastly, it is VERY important that you allow the cheesecake to thaw before serving. This will bring out its soft and creamy texture. You will also be able to taste the matcha and sesame flavor much better. 

Keep the cheesecake in the freezer until ready to eat. 

Toodles!

In Desserts, Healthy Tags Vegan, Desserts, Cheesecake, Matcha, Sesame
1 Comment

12112150_10103940690007463_6453268954361535545_n.jpg

Subscribe

Thank you!

Subscribe

Thank you!

Home  |  Recipes  |  travel  |  About