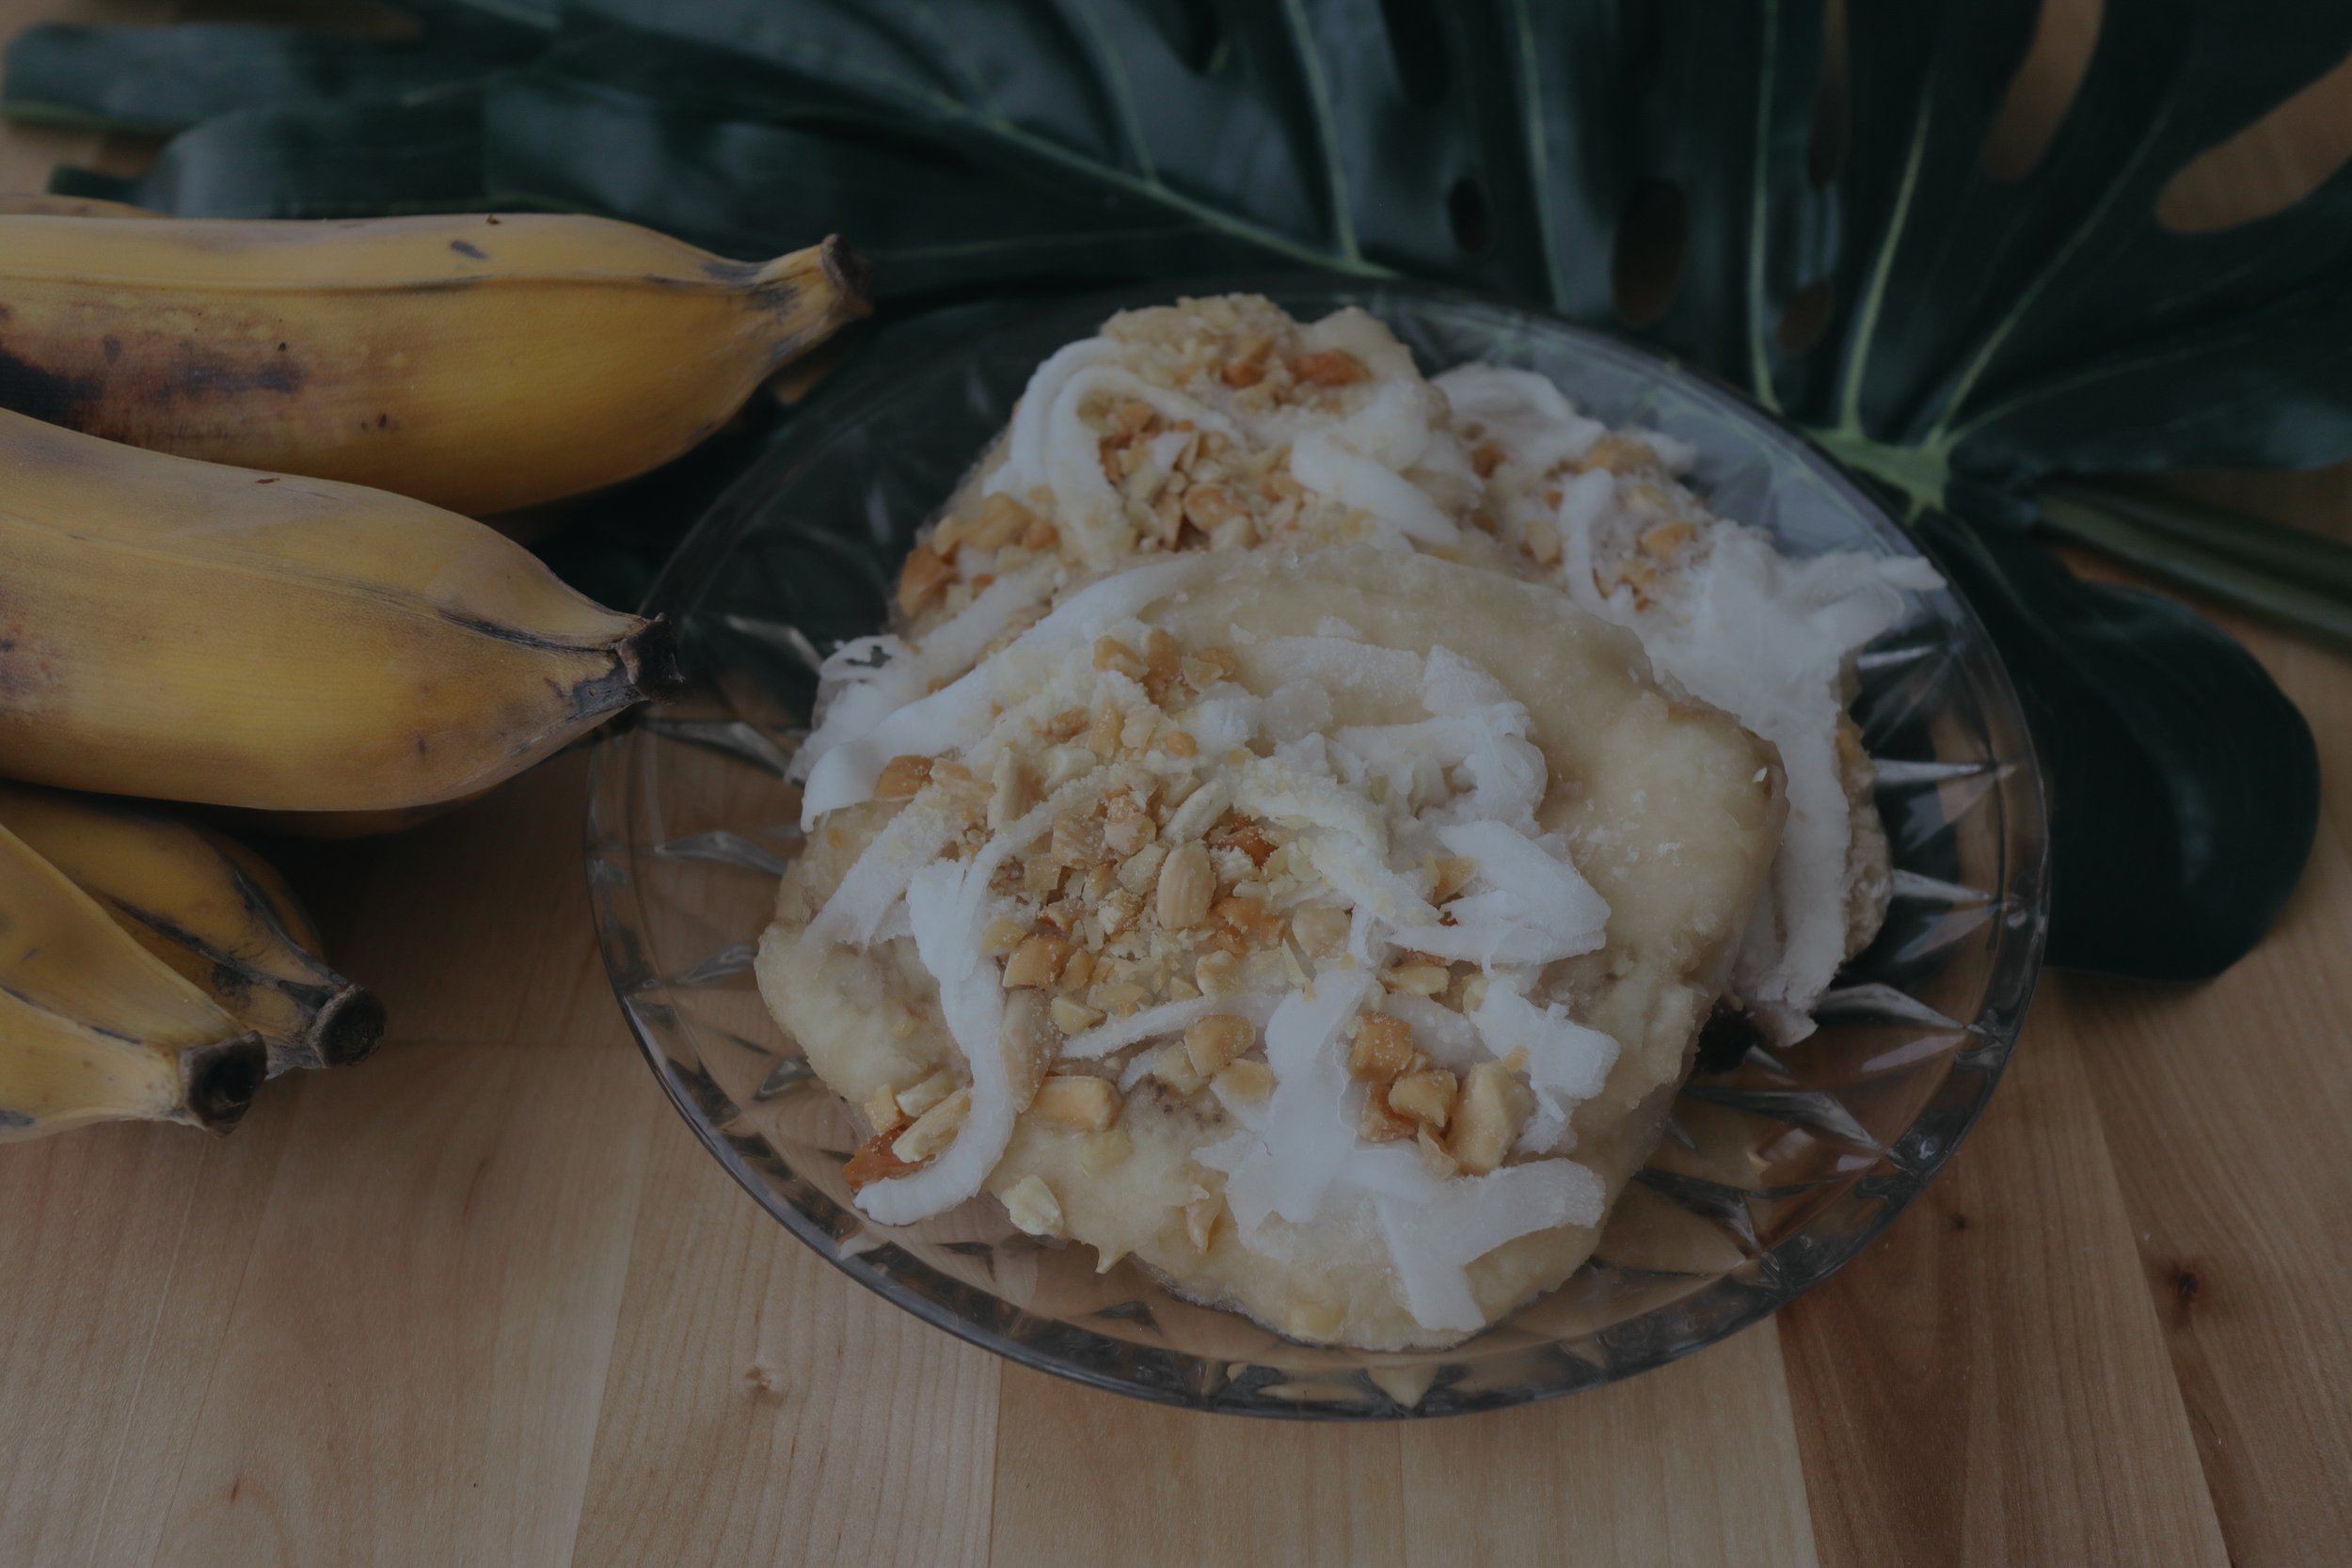

Kem Chuối Ép | Frozen Pressed Banana
makes about 10 servings
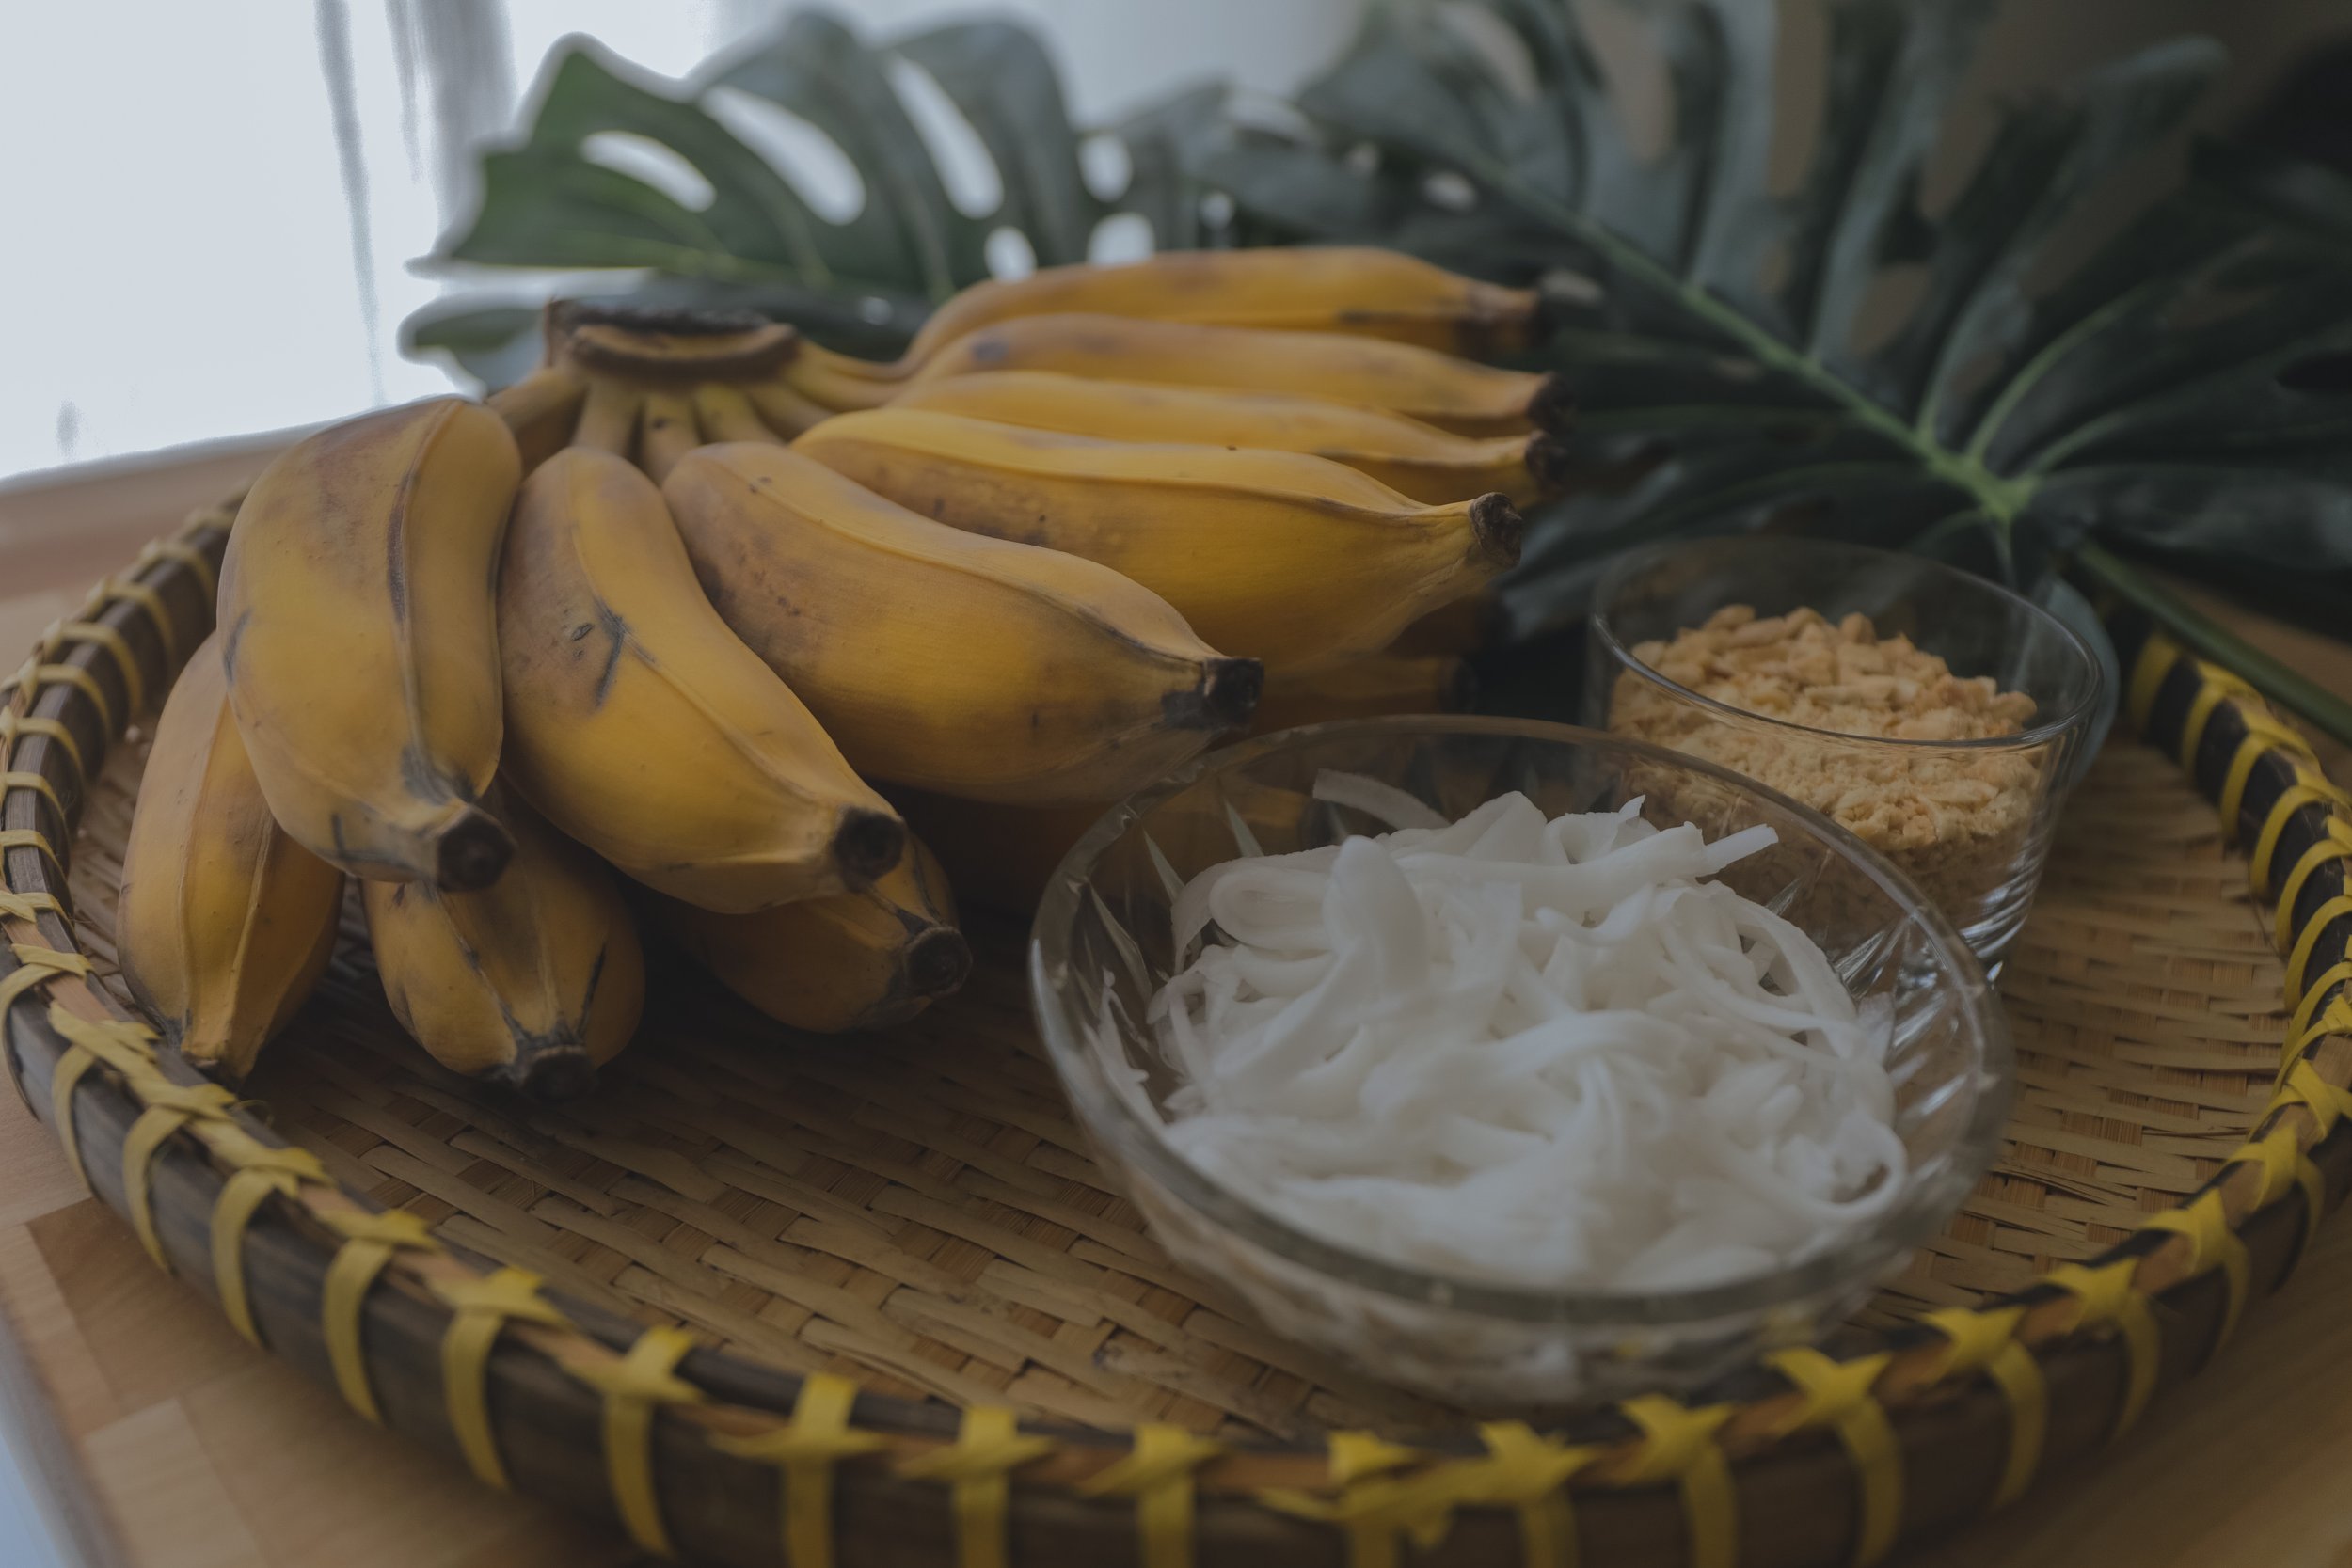
Ingredients
1 bunch of Namwa Bananas
2 cups fresh shredded coconut
1 cup crushed peanuts
Clear pastry bags or ziplock bags
Preparation
Peel bananas
Place each banana in one pastry bag
Press and roll the banana out until desired thickness. I like mine about ½ inch or 1-2 cm tall.
Add a layer of shredded coconut to the banana
Sprinkle 1 tablespoon of crushed peanuts on top
Fold the opening of the bag over to seal
Freeze until frozen, about 4 hours or overnight
Good to know
You can add a few drizzles of coconut cream on top of the shredded coconut, before the crushed peanuts, for added creaminess.