• Home
  • Recipes
  • Adventures
  • About
  • Connect
Menu

AlliVuong

  • Home
  • Recipes
  • Adventures
  • About
  • Connect
Kem Chuối Ép

Kem Chuối Ép | Frozen Pressed Banana

September 16, 2023
Vietnamese Ingredients

Kem Chuối Ép | Frozen Pressed Banana 

makes about 10 servings

Ingredients

1 bunch of Namwa Bananas

2 cups fresh shredded coconut

1 cup crushed peanuts

Clear pastry bags or ziplock bags


Preparation

  1. Peel bananas 

  2. Place each banana in one pastry bag

  3. Press and roll the banana out until desired thickness. I like mine about ½ inch or 1-2 cm tall. 

  4. Add a layer of shredded coconut to the banana 

  5. Sprinkle 1 tablespoon of crushed peanuts on top 

  6. Fold the opening of the bag over to seal 

  7. Freeze until frozen, about 4 hours or overnight 


Good to know

You can add a few drizzles of coconut cream on top of the shredded coconut, before the crushed peanuts, for added creaminess.

In Asian, Desserts, Healthy, Vietnamese Tags Ice Cream, Desserts, Kem Chuoi
Comment
_DSC8665.jpg

Vietnamese Coffee | Cà phê Việt Nam

August 1, 2020
_DSC8650.jpg
_DSC8672.jpg
_DSC8654.jpg
_DSC8655.jpg

Vietnamese Coffee | Cà phê Việt Nam

makes enough for 1 serving

Ingredients

30 gr (3 tbsp) coarsely ground Vietnamese coffee

125 ml (4.5 oz) hot water

15 gr (2 tsp) condensed milk

1 set of Vietnamese phin


Preparation

  1. Soak and rinse all phin pieces in hot water.

  2. Add the condensed milk to a cup.

  3. Add the coffee ground to the phin chamber.

  4. Place the filter press on top of the coffee and gently press it down.

  5. Place the phin disk and chamber over the cup.

  6. Add 25 ml (2 tbsp) of hot water and allow the coffee grounds to bloom for 30-60 seconds.

  7. Add 50 ml of hot water.

  8. Once the first pour is completely extracted, add another 50 ml of hot water for the second pour.

  9. Stir the coffee and condensed milk until well combined.

  10. Enjoy as is or pour over a glass of crushed ice.


Good to know

This coffee is best if using Vietnamese coffee grounds. My favorite brand is Trung Nguyên, available for purchase online or if you’re lucky, at your local Vietnamese supermarket.

_DSC8681.jpg
In Drinks, Vietnamese Tags Coffee, Vietnamese, Ca Phe Sua Da
Comment
7EC2B14F-7A1C-424F-89D2-989A6B047433.JPG

Soy Milk | Sữa Đậu Nành

July 4, 2020
EFD42E04-A312-48F3-9666-993ABB06CEDE.JPG
7828B851-3A9C-46F8-A8C0-A540304A07D6.JPG
86AD6B8F-3620-4115-BBB4-5A0F416797D0.JPG

Soymilk | Sữa Đậu Nành 

makes 5 cups

Ingredients

180 gr (1 cup) dried soybeans 

15 gr (2 tbsp) white sesame seeds

25 gr (4) pandan leaves

1.5 liters (6 cups) water 

A pinch of salt 


Preparation

  1. Gently rinse the soybeans under cold water for 30 seconds. 

  2. Soak soybeans for at least 8 hours, preferably overnight. The beans will expand 3-4 times so make sure you use plenty of water. 

  3. The following day, drain and rinse the soybeans one more time. 

  4. In a high speed blender, add soybeans, sesame seeds and water. 

  5. Blend at high speed for 1 minute. Rest for 30 seconds. Blend on high speed again for 1 minute. 

  6. Place cheesecloth in a strainer and both over a large bowl.

  7. Strain the soybean mixture through the cheesecloth. Twist and wring the cheesecloth to extract as much liquid as possible. 

  8. Pour the soy milk in a medium pot and bring to a boil. 

  9. Let the mixture boil for 3 minutes. 

  10. Reduce to medium-low heat, add pandan leaves and let simmer for 15 minutes. 

  11. Make sure to stir the pot frequently to prevent the milk from burning. Skim any bubbles and milk skin forming on top. 

  12. Remove from heat and strain the milk once more with a strainer. This will filter out any leftover residue and ensure the milk is extra smooth. 

  13. Transfer soy milk to glass containers and store in the refrigeration. 

  14. Enjoy!


Good to know

6 cups of water yields a similar consistency to the soy milk I drank growing up but feel free to increase/reduce the amount water to fit your preference.

You can drink the soy milk plain or add honey as sweetener. Similarly, this can be enjoyed hot or cold.

The sesame seeds are there to enhance the nutty and creaminess of the soy milk. Alternatively, you can replace them with a handful of peanuts. 

I recommend straining the milk twice to remove any leftover milk skin and minimize the amount of pulp left. Gritty soy milk (or any milk really) is a no-no!

There are other methods which required you to boil the blended soy mixture and then strain it. That works just as well but I personally prefer this way as I don’t have to wait for the cooked milk to cool and avoid the need to handle hot milk during the straining process altogether. 

CC2A2028-DB8A-4126-9D4E-586FE1555F01.JPG
In Healthy, Vietnamese, Drinks Tags Soymilk, Vegan, Healthy, Drinks, Sua Dau Nanh, Vietnamese
Comment
_DSC7748.jpg

Congee with Lap Cheong, Soft Boiled Egg and Mushroom

January 30, 2020
_DSC7747.jpg

A week ago, my husband came down with the flu and I knew the epidemic that is the Man-Flu was about to befall us. So aside from the usual Vitamin C, elderberries, water and lots of sleep, I wanted to make him something nutritious, easy on his sore throat and comforting to eat. If there’s one thing this husband of mine craves most while being sick, it’s the feeling of comfort and being taken care of. I mean, don’t we all? Though I tease him a lot for it, I find it quite endearing. 

Below is the recipe I came up with after rummaging through our pantry and gathering everything I deemed has healing components. He finished the whole pot in 2 sittings when I intended for it to last a few days.  And yes, the Man-Flu is no more. 

_DSC7740.jpg
_DSC7750.jpg

Congee with lap cheong, soft boiled egg and mushroom 

makes about 6 cups

Ingredients

1 cup rice 

5 cups chicken broth

6 cups water 

¼ cup ginger, peeled and sliced lengthwise 

½ cup dried lotus seeds

1 tbsp mushroom powder 

1 link lap cheong (Chinese sausage), sliced diagonally  

1 tbsp sesame oil

¼ cup dried wood ear mushroom 

1 tbsp sesame seeds 

1 tsp soy sauce

½ tsp salt 

4 jujubes (dried dates) 

4 eggs 

1 stalk of green onion, thinly sliced


Preparation

For the congee

  • Rinse the rice until the water runs clear. Drain and soak in fresh water for 30 minutes. 

  • Soak lotus seeds in boiling water for at least 2 hours. Drain and set aside. 

  • In a pot over medium high heat, add the rice, chicken broth, water, ginger, lotus seeds and mushroom powder. Bring to a boil. 

  • Reduce the heat to medium and continue to boil for 15-20 minutes. Stir frequently. 

  • Reduce the heat to low, cover and let simmer for 60 minutes. Stir frequently. 

  • If the congee becomes too thick or the water is evaporating too quickly while the rice has not fully cooked, add water (1 cup at a time) to the pot. Remember to stir the pot every 5 minutes or so to avoid the rice from sticking to the bottom of the pan.  

  • At the 60 minutes mark, add the jujubes and continue to cook covered for another 15 minutes. 

For the garnish

  • Soak wood ear mushroom in boiling water for 10 minutes. Drain, slice lengthwise and set aside. 

  • While the rice is cooking, add the Chinese sausage and 2 tbsp of water to a pan over medium heat. Cook until the sausage is becoming semi-translucent in color and the water has evaporated. Remove from heat and set aside. 

  • In a separate pan over medium heat, combine sesame oil with wood ear mushroom and cook for 2-4 minutes. Season with sesame seeds, salt, soy sauce and cook for another minute. Remove from heat and set aside. 

  • To soft boil the eggs, add enough water in a pot to submerge them all. Bring the water to a boil then add the eggs. Cook for 6-7 minutes. Remove from heat, soak in cold water for 15 minutes. Peel and set aside. 


To serve

  • Pour congee in a bowl, garnish with mushroom, Chinese sausage, half an egg and green onion. 


Good to know

The congee base is simple: rice and water. The rest of the flavoring is up to you, add whatever you want and go from there. The only thing to be mindful of is that you need to stir it frequently as it has a tendency to stick to the bottom of the pan if left alone for an extended period of time. 

The thickness of the congee also depends on your preference. Some like their congee thicker, others like it thinner. Adjust your cooking time and water accordingly. Stop cooking once the rice is fully cooked and the congee is at your preferred consistency. 

Dried lotus seeds are tricky as some are older than others – which impacts the time required to soften them while cooking. If you are unsure, you can soak them overnight before cooking.

_DSC7756.jpg
In Dinner, Healthy, Vietnamese, Soup Tags Congee, Chao, Soup, Healthy, Vietnamese
Comment
_DSC5415.jpg

Bánh Chưng

January 23, 2020

It is with great joy that I am finally writing blog! Bánh chưng is a must-have during Vietnamese New Year, which is also the Lunar/Chinese New Year. The cakes are typically filled with sticky rice, mashed mung beans and pork belly pieces. As a child, I loved the event surrounding the making of these beautiful rice cakes. It is tradition that families and neighbors would gather in someone’s kitchen to make these. Everyone would be prepping, wrapping, cooking and chatting all night long. Most of the time, they are up through the  night as these cakes take 8-10 hours to cook through. Even so, the whole house is constantly filled with laughter and this infectious loving, communal warmth. It is and has always been a time to reflect, give thanks and celebrate together. 

_DSC6403-2.jpg

I love old traditions. The ones that make sense at least. I find them beautiful, humbling and great reminders of our culture, upbringing and to be grateful for where we are today. Since it is not possible to relive those childhood memories, I figured it would be great to recreate them myself. Below are the bánh chưng recipe and instructions I have put together. I want to mention that this is an adaption of my grandma’s recipe in combination of Trang from RunawayRice’s brilliant(!) folding techniques. You can find her original video linked below. 

This recipe seems intimidating and time consuming at first, but I promise you it is not. I had an amazing time making them every year and I am confident you will, too. Wherever you are in the world, I wish you a New Year full of love, great health and happiness. Chúc Mừng Năm Mới, everyone! 

_DSC6319.jpg
_DSC5410.jpg
_DSC5391.jpg
RRIV0709.JPG
_DSC6365.jpg
_DSC6372.jpg
_DSC6370.jpg
_DSC6375.jpg

Bánh Chưng

makes 8 rice cakes

Ingredients

5 cups glutinous rice (aka sticky rice)

3 tsp salt (1 for mung bean 2 for rice) 

2 cup peeled split mung bean

3 cups water for cooking mung bean 

2.5 lb pork belly 

1/2 cup finely minced shallots

1/4 cup finely minced garlic 

3 tsp sugar

5 tsp fish sauce

2 tsp coarsely ground black pepper

2-3 packages banana leaves, cleaned

_DSC6321.jpg

Wrapping Materials

8x8 inch piece of cardstock 

4x4 inch piece of cardstock 

2x8 inch piece of card stock 

4x4x2 inch mold 

8 (7 feet long) string or twine

Scissor

_DSC6331.jpg
_DSC6352.jpg
_DSC6361.jpg


Preparation

Day 1

  • Prepare and cut the banana leaves using the cardstock templates. You will need: 

    • 32 pieces of the 8x8 

    • 8 pieces of the 4x4

    • 16 pieces of the 2x8

  • Soak the mung beans in cold water overnight.

  • Wash the sticky rice until water runs clear. Soak them in cold water overnight. 

  • Cut the pork belly roughly in ½ inch slices. Combine the pork with shallot, garlic, sugar, fish sauce and pepper. Mix well, cover and let marinate in the refrigerator overnight. 


Day 2

Prepare the mung beans

  • Rinse and drain the mung beans.

  • In a medium size pot, combine the mung beans with 1 tsp salt and 3 cups water.

  • Cover and bring to a boil. Allow the mung bean to boil for 5 mins. 

  • Reduce to a simmer for 20-30 minutes or until the mung bean is soft and fluffy. Remember to stir occasionally to avoid burning. 

  • Remove the cooked mung beans and smash with a paddle or a spoon. 

  • The mung beans should resemble the consistency of mashed potatoes at this point. 

Prepare the glutinous rice

  • Drain the rice and combine with 2 tsp salt. 

Wrap the bánh chưng  

  • I preferred my bánh chưng to have an even amount of sticky rice and pork belly. During the cooking process, the fat from the pork will seeped out and seasoned the rice. Hence, the more pork belly you use for each cake, the more flavorful your sticky rice will be.  Of course, this is up to your liking so adjust wherever needed. 

  • For each bánh chưng, I used the following measurement:

    • 1st layer: a heaping ½ cup of sticky rice 

    • 2nd layer: 2 tbsp of mashed mung bean

    • 3rd layer: 3-4 pieces of pork belly

    • 4th layer: 2 tbsp of mashed mung bean

    • 5th layer: a heaping ½ cup of sticky rice

  • For the wrapping instructions, you can check out RunAwayRice’s video for a live demonstration. 


Cook the bánh chưng

  • In a huge pot (and I mean pho-making, turkey brining, 15-quart huge), add the bánh chưng and fill water enough to completely submerged them. 

  • Weight bánh chưng down with a heavy plate. 

  • Bring to a rolling boil and let stand for 15-20 minutes. 

  • Reduce to a simmer for 4 hours. 

  • Remove bánh chưng from the water, keep track of which ones were at the bottom half and top half of the pot. 

  • Add the bánh chưng back into the pot, this time place the ones that were on the top half on the bottom of the pot and vice versa. Don’t forget to weight them down again with a heavy plate. 

  • Since we are making a huge batch, this will ensure that all of the bánh chưng are cooked thoroughly and consistently. 

  • Continue to cook on simmer for another 4 hours. 

  • Remove the bánh chưng from the pot. 

  • Lay a kitchen towel at the bottom of a pan. Place the bánh chưng neatly and tightly next to each other. 

  • Lay another kitchen towel on top of the bánh chưng. Place a large cutting board on top and weight them down with something heavy (bags of sugar, ceramic plates, etc.). This is to remove any excess water while maintaining their square shape. 

  • Let them sit like this for at least 4 hours (or overnight) before serving. 

  • Cut and serve with dưa món củ kiệu. 


Good to know

I didn’t wrap the bánh chưng in aluminum foil before cooking them and they turned out fine every year. My guess is the aluminum foil will help retain their square shape better but I haven’t tested that myself. As long as you take the time to press out the water at the end, aluminum or not will not affect the taste of the bánh chưng. My grandma also confirmed that in all her years of making them, she has never wrapped them in aluminum foil before cooking. 

I also haven’t tried making them in a pressure cooker. My aunt did and she said the sticky rice was tougher and not as soft as the stove cooked ones. I’m not that surprised, low and slow is always the preferred cooking method in these type of dishes. I’ll have to try the pressure cooker method next year to see for myself. 

If you planned on refrigerating them, make sure to wrap them in plastic wrap or place them in an airtight container first. 

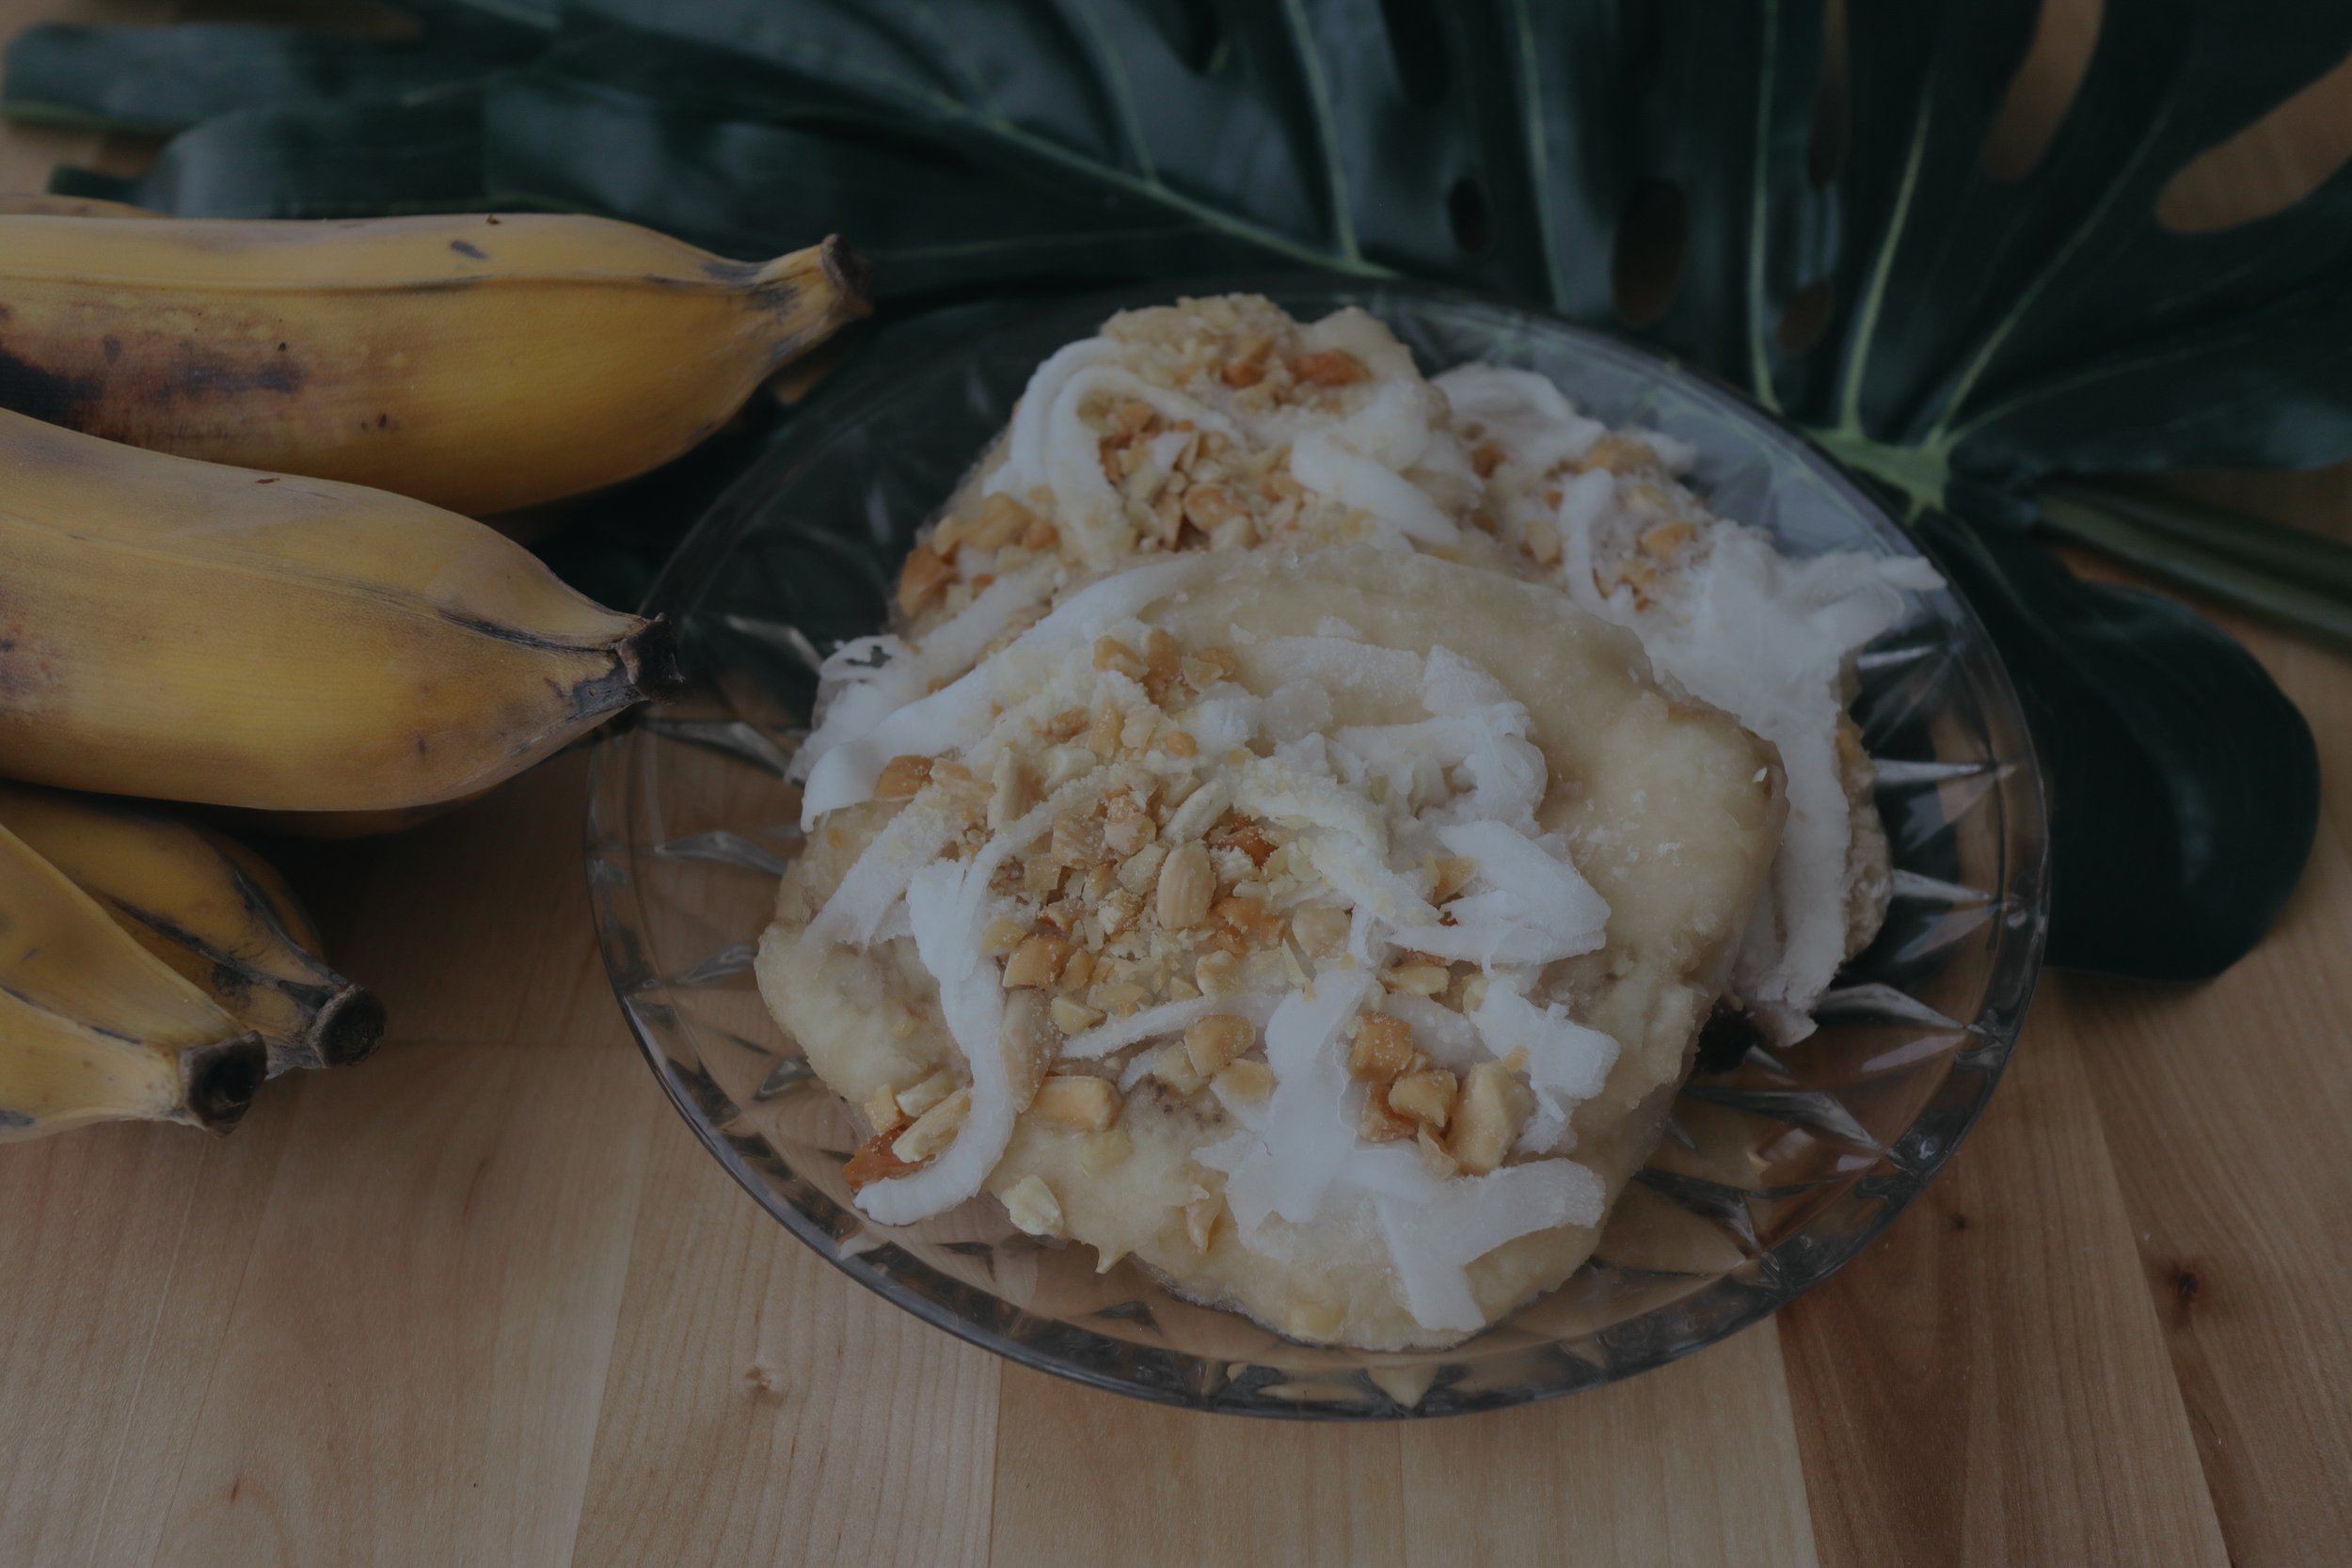
Since the sticky rice is very, well, sticky once cooked, the easiest way to cut them is using a piece of thread. You just have to wrap the thread around the cake and pull the thread ends across each other. You can of course use a knife, just make sure to rub the knife with some cooking oil first to make clean up a bit easier. 

Bánh chưng is typically enjoyed with dưa món củ kiệu, which you can find at most Asian grocery stores. 

Also pro-tip, fried bánh chưng or bánh tét (it’s cylinder shaped sister) is the best thing in the world. Fried carb, pork belly and bean- need I say more? 

_DSC6380.jpg
In Vietnamese Tags Banh Chung, vietnamese, Rice Cake, Lunar New Year, Chinese New Year, Tet, Traditional
1 Comment
_DSC4860.jpg

Vietnamese Chicken Curry

July 15, 2018

Hello hello!

It feels like a million years ago since I last posted something. Life has been hectic and I have been neglecting this happy little corner for quite some time. But I am back to share the below Vietnamese Chicken Curry recipe with you. This is another one of those dishes that I grew up eating and is a stable at every family gathering or party. The most time consuming part is getting the vegetable prepped. Other than that, it’s pretty much a dump-it-all-together-and-wait kind of dish. Easy-peasy! 

_DSC4856-6.jpg
_DSC4898.jpg

Vietnamese Chicken Curry

makes 6-8 servings

Ingredients

I3 lbs chicken, cut into bite size or 1 1/2" pieces

2 cans baby corn, drained the liquid

2 medium sweet potato, peeled, cut into 1 1/2” pieces  

2 medium carrot, peeled, cut into 1/2” thick wide  

1 yellow onion, cut in 1 1/2” pieces 

1 stalk of lemon grass, minced 

2 tbs ginger, minced

4 lime or bay leaves  

6 cups chicken stock

3 cans coconut milk 

4 tbs shallot, minced 

3 tbs garlic, minced  

3 tbs sugar 

2 tsp salt

2 tsp onion powder

2 tbs red chili powder  

5 tbs yellow curry powder

2 tbs coconut oil 

4-6 tbs fish sauce

Preparation

  1. Combine the chicken with salt, sugar, onion powder, curry powder, garlic, shallot and chili powder. 

  2. Mix well and let marinate for at least 30 minutes.

  3. In a big pot, heat the coconut oil over medium heat for about 3 minutes. To test the oil readiness, add a small piece of onion, if it start sizzling immediately then the oil is ready. 

  4. Add the lemon grass, ginger, yellow onion and bay leaves. Stir frequently for 2-3 minutes. 

  5. Add the chicken. Stir frequently for 5-8 minutes or until the skin of the chicken is  a golden yellow color. 

  6. Add half of the chicken stock and coconut milk. 

  7. Increase the heat to medium-high and bring the curry to a boil, about 15 minutes. 

  8. Add potatoes, carrots, baby corn. 

  9. Add the rest of the chicken stock and coconut milk. 

  10. Add the fish sauce according to your taste. 

  11. Simmer everything over medium heat for about 20-30 minutes, stirring occasionally.

  12. It’s done when the chicken is cooked through and the potatoes are tender. 

  13. Enjoy hot with vermicelli, rice or french baguette. 


Good to know

Chicken: breast and drumsticks with the skin on is the way to go. 

Curry powder: have you ever seen red Vietnamese curry? No? Me, neither. Get the yellow one. 

Coconut milk: full fat does it better, always. However, if you want to spare the calories for 2 servings instead of 1 then you can use the light/low fat option. You do you, boo boo! 

Fish sauce: my taste buds lean more on the saltier side and since there’s a hight fat content (thank you, coconut milk), I ended up using all 6 tbs. I highly recommend adding 3-4 tbs first and adjust thereafter. It’s an ordeal trying to salvage an overly salty dish. So add, taste, add, taste, repeat. 

Potahtah: they should be tender but still retained their shape. After adding them, stir sparingly to avoid breaking down the starch too much. This is also the reason why I added them in with the 2nd batch of chicken stock and coconut milk. Some recipes suggested that you add the potatoes at the same time as the chicken, I found this theory false. They cook at different time and doing so will accidentally give me potatoes soup. It’s still be a pretty solid soup but I’m here for the curry. 

Toodles!

In Vietnamese Tags chicken, curry, vietnamese
Comment

Caramelized Catfish

May 29, 2017

FACT: no one makes braised or caramelized fish as well as my Ba Ngoai (Grandma). You can argue all you want, but save your breath, she wins, always. Also fact, she won’t give me the recipe. Every time I’ve asked, she would reply with something like, “It’s very simple. You just need to add the fish, let simmer for a while, add a couple seasonings and that’s it.” Now, whenever you hear a grandma say something along these lines it usually means her recipe includes 40 steps, 500 ingredients, requires 7 days to complete and is infused with 28 different potions plus some dark magic. It’s her secret and that is that! 

Growing up, this dish was a staple and the epitome of comfort. There’s something about the sweet caramel flavor that blends so harmoniously with the savory fish sauce and the catfish’s fattiness. This dish served over rice on a dark cloudy day is one of my fondest childhood memories. Once we finished the fish, my Grandma would always mix some rice into the empty pan and eat it with me. This saucy, caramel-y rice is still a favorite of mine.

Below is my rendition of her recipe after almost 2 decades of eating it. The most common way of making this is with catfish, though I’ve tried it with tilapia and it tasted just as good.

 I eventually gave up nagging her about giving up her recipe because I know, she’s just holding it hostage to make sure I visit often. Silly Grandma, I’ve figured this recipe out years ago…. but I’m still going to ask you for it this weekend.


Caramelized Catfish

makes enough for 4-6 people

Ingredients

 For the fish

2 pounds catfish or tilapia, cut about 1 inch thick

¼ cup coconut water

A pinch of freshly ground black pepper

1 cup caramel sauce

4 thai chilies, halved (or 1 jalapeno, sliced)

2-3 cloves shallot, sliced

1 thumb ginger, julienned   

For the caramel sauce

1 cup of brown palm sugar

3 tbsp water

¼ cup fish sauce

Preparation

 Prepare the caramel sauce:

  • You will need to make the caramel sauce first. This is the most complex (partially scary) part of the recipe since it can go from gorgeous caramel to a fish sauce volcano in 30 seconds.  So, I urge you to give it your full attention.

  • Fill the sink or a big enough bowl with cold water that can come up to ¼ the height of the saucepan.

  • In a tall sauce pan over medium heat, add 1 cup of brown palm sugar and 3 tbsp water. Stir well for 1-2 minutes to fully dissolve the water .

  • Let sit and stir frequently through the next few steps.

  • Watch as the sauce bubbles and come to a gentle rolling boil.

  • The sauce will start changing color; starting from light yellow and gradually turning into a dark brown color with reddish tint (like how caramel looks). This should take about 8-10 minutes.

  • Once the sauce has reached the desirable color and consistency, remove from the heat and submerge the pan into the cold water in the sink (or bowl). This will seize the cooking process, preventing the caramel from burning.

  • Right away, add the fish sauce and stir until fully incorporated.

  • Now, I shall warn you that this will result in the sauce bubbling vigorously, hence the need for the large/tall saucepan.

  • In the event that your sugar cooled too fast and can’t fully dissolve in the fish sauce, return the saucepan to the stove and stir on low heat.

  • Allow the sauce to rest for 10 minutes, it will thicken as it cools down.

 Prepare the fish:

  • In a large bowl, mix together the fish, pepper and caramel sauce. Make sure the caramel sauce fully coats the outside of the fish.

  • In a small pot (claypot if you have one handy) place the fish snugly in one layer. Pour any remaining sauce over the fish. 

  • Add the shallot, ginger and chilis. I made sure to wedge them in the open spaces so the flavor can infuse well with the fish.

  • Add the coconut water.

  • Cover and bring to a boil over medium high heat.

  • Reduce the heat so the pot is at a simmer and cook for 5-6 minutes.

  • Flip the fish pieces. Spoon some of the liquid from the pot over the fish to make sure it coats them thoroughly.

  • Cook for another 5-6 minutes until done.

  • Serve hot over white rice.


Good to know

Use a tall sauce pan to make the caramel. The sugar will boil quickly and can overflow if you’re not paying attention so the taller type of saucepan will be more forgiving.

If you don’t have or can’t find palm sugar, white sugar will suffice. I personally like palm sugar because that’s the way my Grandma made it and well, Grandma always knows best.

Again, I highly recommend using only catfish or tilapia to yield the best result. These types of fish have a “fall apart” texture that works best when coated with the sauce. Listen to me. Put the salmon away.  

In Seafood, Vietnamese Tags catfish, caramelized
1 Comment

12112150_10103940690007463_6453268954361535545_n.jpg

Subscribe

Thank you!

Subscribe

Thank you!

Home  |  Recipes  |  travel  |  About