• Home
  • Recipes
  • Adventures
  • About
  • Connect
Menu

AlliVuong

  • Home
  • Recipes
  • Adventures
  • About
  • Connect
_DSC6260.jpg

Strawberry Vanilla Vegan Cheesecake

February 10, 2019
_DSC6281.jpg
_DSC6259.jpg
_DSC6298.jpg
_DSC6295.jpg

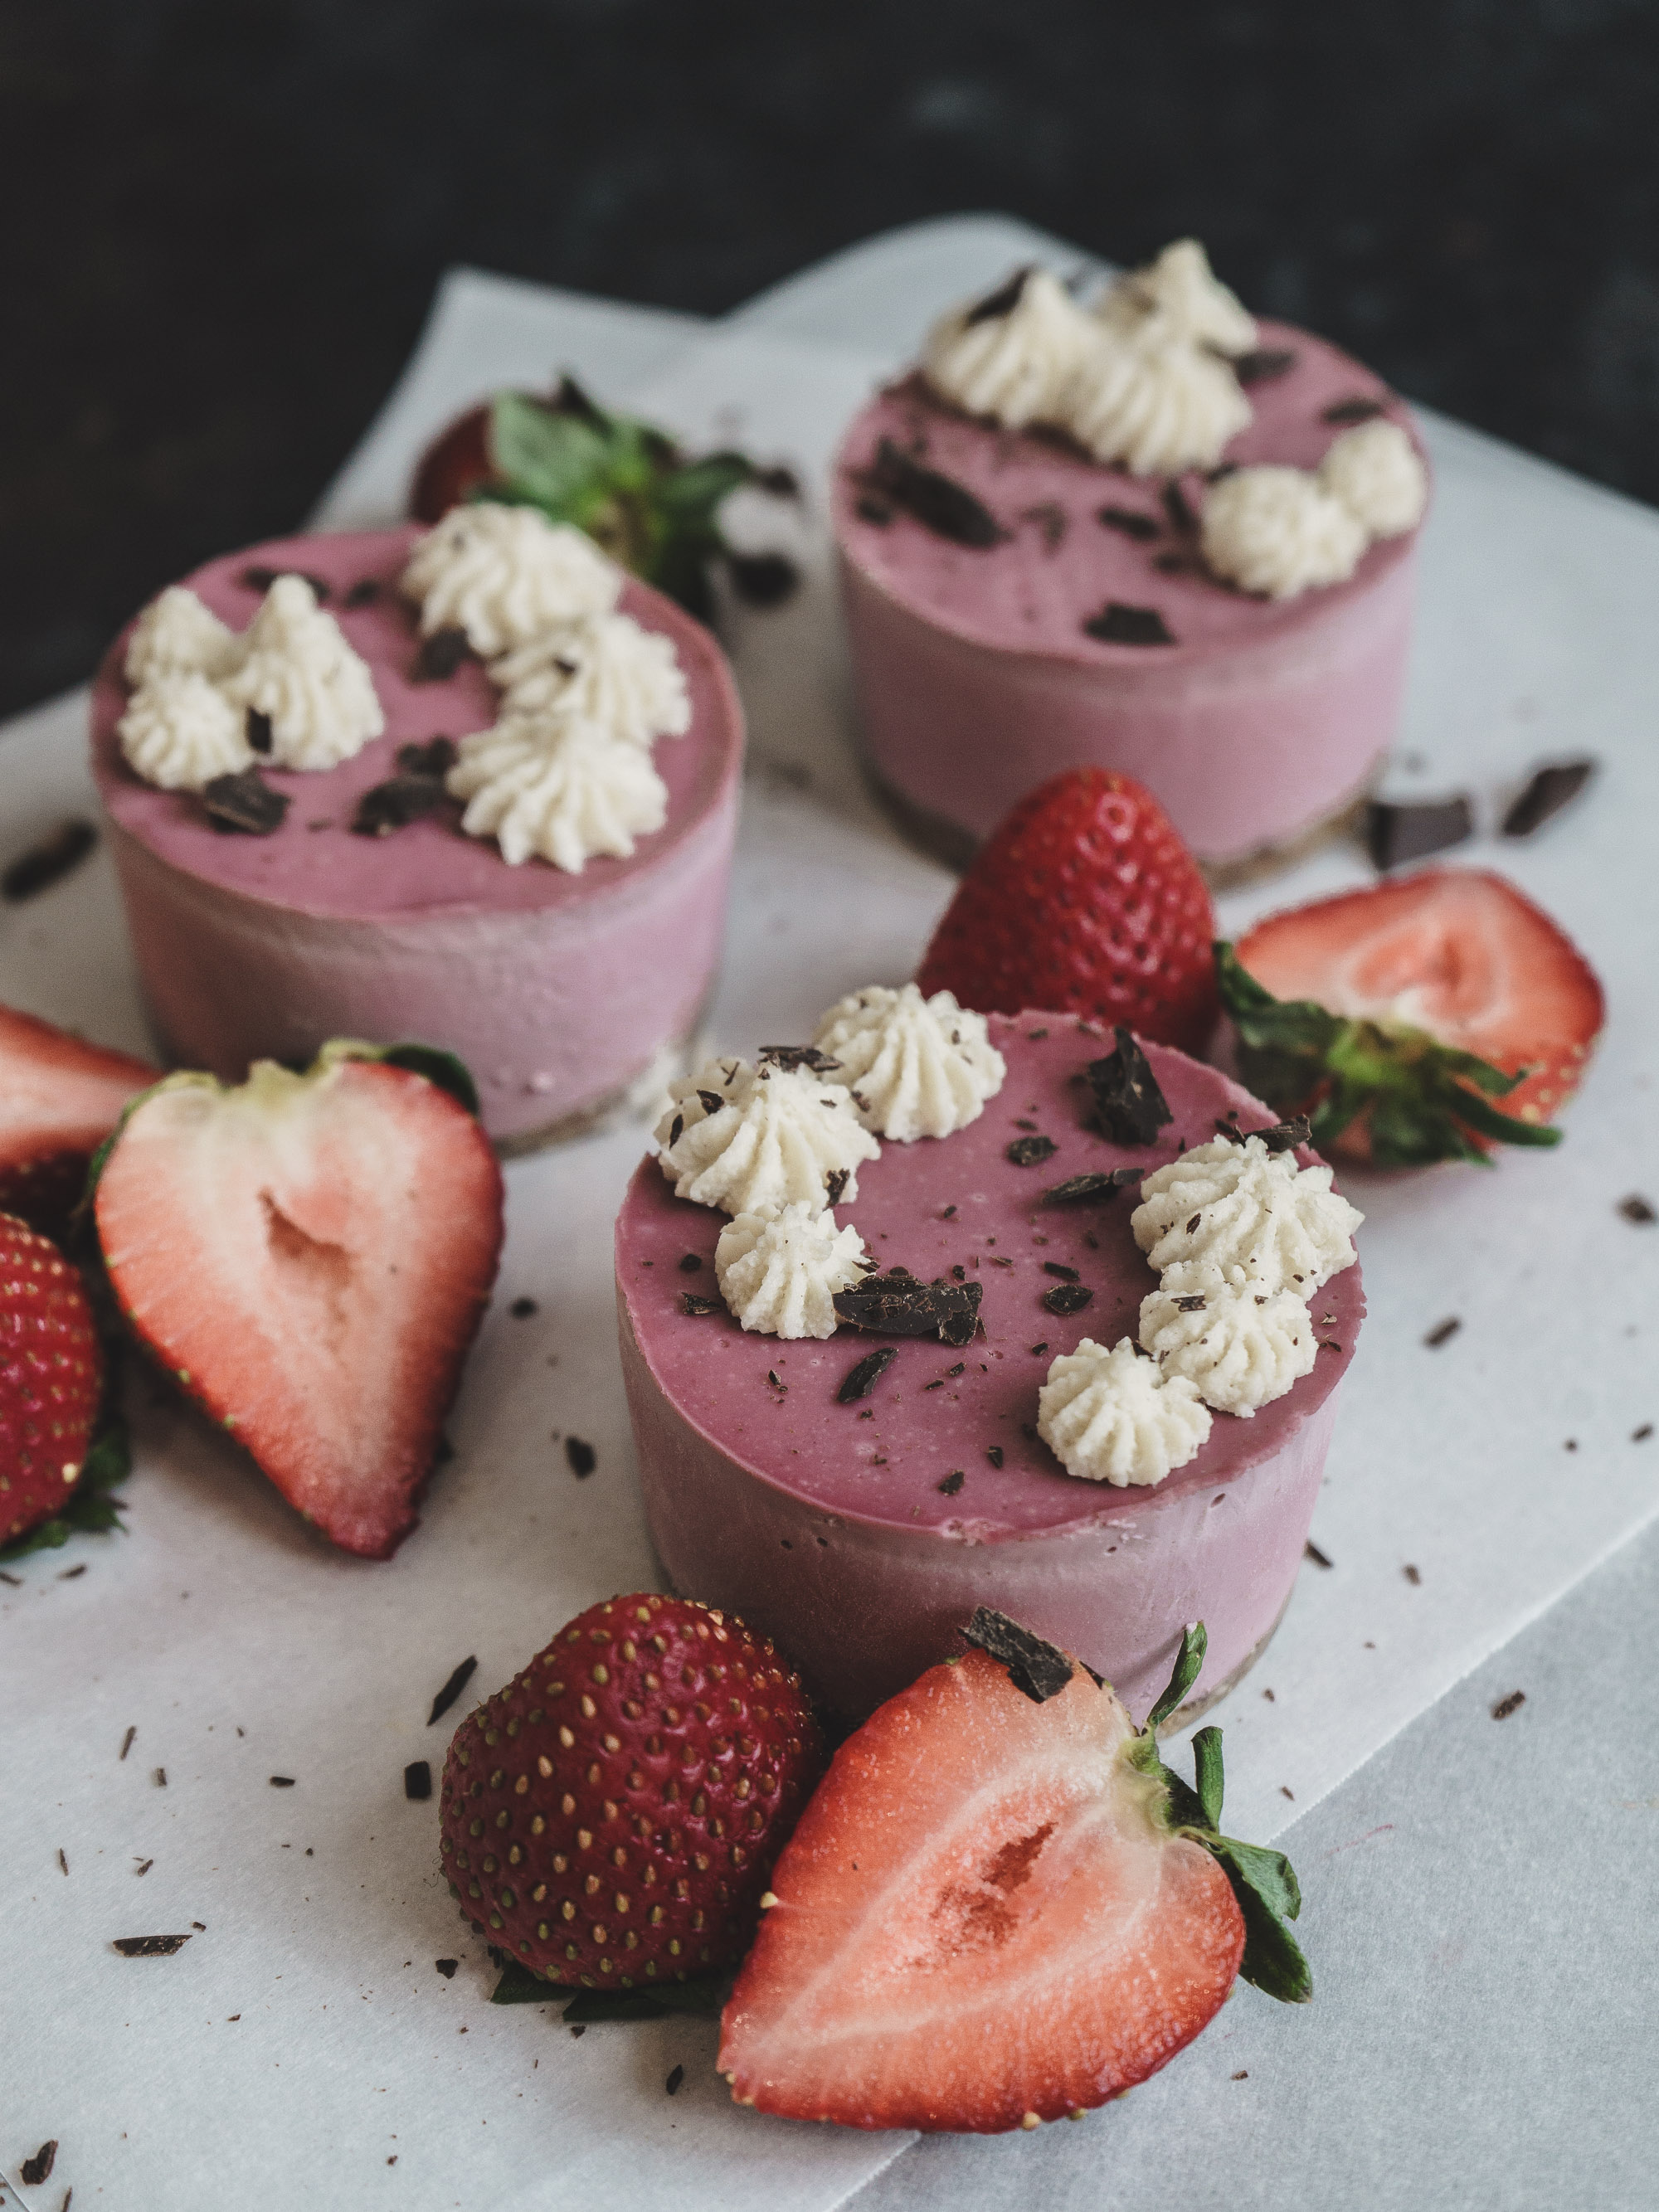
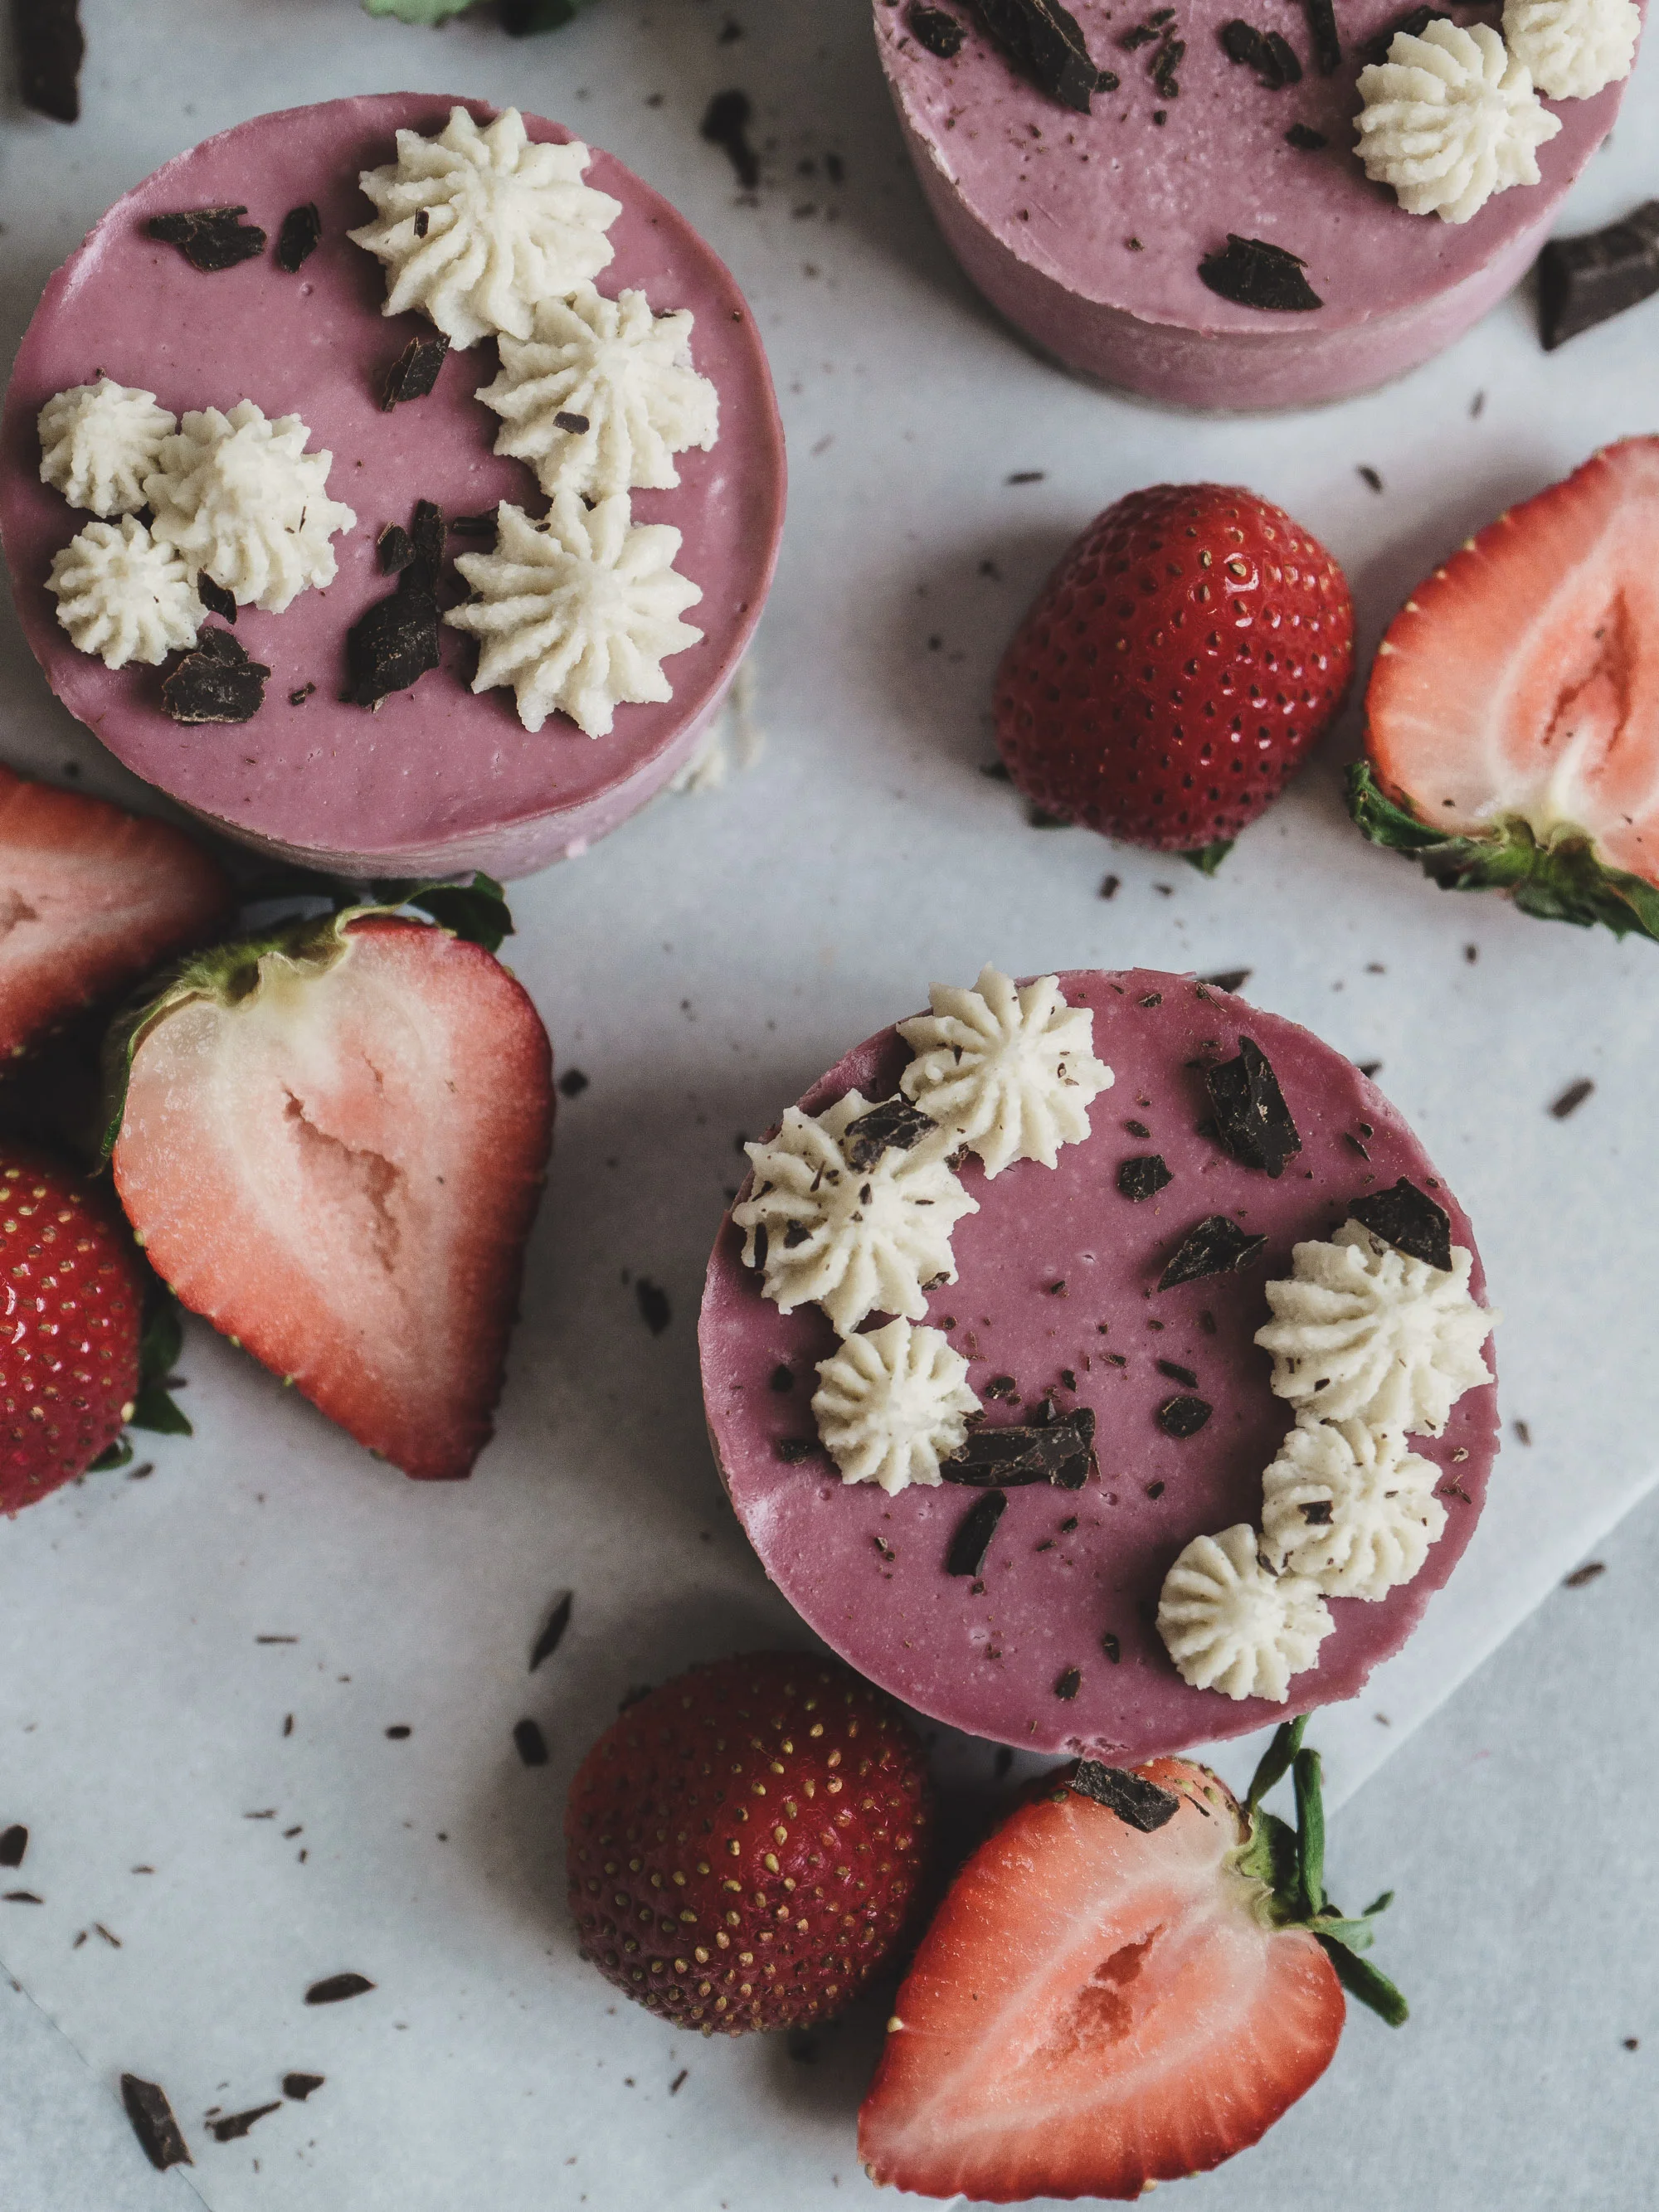
Strawberry vanilla vegan cheesecake 

makes 12-14 (2”x 2") mini cheesecakes

Ingredients

Silicone mold

Crust: 

1/4 cup roasted almond 

3/4 cup roasted walnut 

5 Medjool dates, pitted 

2 tbsp coconut oil

1/2 cup shredded coconut 

2 tbsp cacao nips 

1/8 tsp salt 

Filling:

2 cups raw cashew 

2 cups dried strawberry 

1 1/4 cups coconut cream 

5 tbsp cacao butter 

5 tbs coconut oil

10 tbsp agave nectar 

2 tbsp lemon juice 

1 tsp vanilla extract 

1 pinch salt 


Preparation

  1. Soak cashews for at least 6 hours, preferably overnight.

  2. For crust: blend all ingredients together in a food processor until a crumbly, sticky paste is formed. 

  3. Press crust evenly onto bottom of mold. About 1 tbsp per square. 

  4. For filling: blend cashews until smooth. 

  5. Add rest of filing ingredients, except dried strawberries. 

  6. Blend until creamy. 

  7. Save about 1/2 cup of filling to use for frosting later. 

  8. Add dried strawberries to rest of the filing, blend until smooth. 

  9. Pour strawberry filing into mold, freeze until set. About 30 minutes or overnight. 

  10. Thaw for 5-10 minutes before serving.

  11. Pipe on vanilla frosting and enjoy! 


Good to know

You can use fresh strawberries instead of dried ones, but I don’t recommend doing so. Fresh strawberries are high in water content, which will give the cheesecakes an icier, popsicle-like texture. 

Always allow the cheesecakes to thaw for at least 10 minutes before serving. This will bring out its soft and creamy texture. 

Keep the cheesecakes in the freezer until ready to eat. 

_DSC6304.jpg
In Desserts Tags strawberry, vanilla, vegan, healthy, desserts, cheesecake
Comment
Strawberry Ice Cream

Strawberry Ice Cream

June 26, 2016

Strawberry Ice Cream

makes 6 servings

Ingredients

2 cups heavy whipping cream

1 cup whole milk

2/3 cup sugar

3 egg yolks

1 tbsp vanilla extract 

2 cups fresh strawberries

1 tsp lime juice

Preparation

  1. Chop the strawberries into small chunks. 
  2. Mix the strawberries with the lime juice and 1/3 cup sugar. Let sit while making the ice cream base. 
  3. In a medium pot, heat the heavy cream and whole milk over medium heat until the edge starts to bubble. 
  4. Add in 1/3 cup sugar, stir well. Turn off the heat. 
  5. In a small bowl, whisk together 2 tbsp sugar and the egg yolks until it becomes a light yellow color. 
  6. Temper the eggs by adding the cream to the eggs, 1 tbsp at a time, stirring in between. Once both cream and eggs have been incorporated, return the mixture to the pot and cook over medium-low heat. 
  7. Continue to stir until the mixture becomes a custard-like consistency and can coat the back of a wooden spoon.  You should be able to run a finger down the spoon and leave a clean trail. 
  8. Remove from heat. 
  9. Puree half of the strawberries in a blender and add to ice cream base. Mix well and strain the custard.
  10. Mash the other half of the strawberries with a potato masher or a fork, leaving some small chunks. 
  11. Remove the frozen ice cream maker bowl from the freezer. Add the ice cream custard and churn for 20-25 minutes. 
  12. Remove the ice cream from the bowl and fold in the mashed strawberries. 
  13. Freeze for at least 3 hours before enjoying. 

Good to know

Freeze your ice cream maker bowl at least 24 hours prior to churning. Make sure to read your machine manual since every machine is different. 

I made this ice cream with an ice cream maker because I am lazy and don't have the arm strength (mostly patience) to do it san machine. But if you don't have the machine, then you'll need to pop your custard in the freezer, then stir it vigorously every 20 minutes while it freezes. You can do this with a spoon or fork. Spork not acceptable. I've tried this method and it turned out well, though it does get harder as the ice cream hardens.

I used the ice cream maker attachment for my KitchenAid stand mixer. I've tried two Cuisinart ice cream makers prior to this one and broke both. They're too weak, especially if you're planning on churning anything with small chunks in it. The KitchenAid attachment is perfect! Then again, this mixer can do no wrong. AMIRITE? 

Toodles! 

In Desserts Tags Strawberries, Ice Cream, desserts
1 Comment

Crème Brûlée

March 27, 2016

Crème Brûlée

makes 6 servings

Preparation

  1. Preheat the oven to 325ºF.

  2. Combine the heavy cream and vanilla extract in a medium pot. Bring to boil over medium-high heat. Remove from the heat immediately, cover and let sit for 15 minutes.

  3. In a bowl, whisk together 1/4 cup sugar and the egg yolks until it becomes a light yellow color. Temper the eggs by adding the cream to the eggs, 1 tbsp at a time, stirring in between.

  4. After half of the cream has been tempered with the egg, you can can add the remainder of the cream all at once to the egg/cream mixture.

  5. Once both the cream and eggs have been incorporated, strain the liquid one more time. This will ensure the custard is extra smooth. 

  6. Pour the liquid into 4 ramekins. Place the ramekins into a large cake pan. Add hot water into the pan to about halfway up the sides of the pan. Bake for approximately 40 to 45 minutes. Remove the ramekins from the pan and refrigerate for at least 2 hours.

  7. Remove the ramekins from the refrigerator and let sit for 30 minutes prior to browning the sugar top. Coat the surface of each ramekin evenly with 1 tbsp of sugar. Using a torch, gently melt the sugar and form a brown, crispy top. Let sit for 5 minutes before serving.

  8. Garnish with fruits and powder sugar.

Ingredients

2 cups heavy cream

1 tbsp vanilla extract

1/2 cup sugar

3 large egg yolks


Good to know

After baking, the crème brûlée should be set but still a little jiggly in the center. 

Rotate the ramekins slowly as you are torching the sugar. This will allow even browning and prevent the sugar from burning. The sugar top should be a light brown color, not dark brown. The sugar will burn faster the longer you torch so eyes on the custards, folks!

Caramelize the sugar tops right before eating. Refrigerate after torching will turn the crispy tops soggy.

Toodles!

In Desserts Tags creme brulee, desserts
Comment

12112150_10103940690007463_6453268954361535545_n.jpg

Subscribe

Thank you!

Subscribe

Thank you!

Home  |  Recipes  |  travel  |  About